Followers

Showing posts with label bake. Show all posts

Wednesday, November 8, 2023

Carry On...

In spite of very annoying pain, irritation and vision problems, I try to get one project either started or finished each day. I do have a routine first. I have breakfast; watch early news and weather on TV, make bed and then personal care. I'm ready to go.... Oops, refill humidifier and check mousetrap in carport. (Today #3 was the tally so far.) 

I usually plan the day ahead regarding a project. The 2nd visit to the optometrist yesterday after an episode of stuck eyelid last week resulted in the same ole, same ole...dry eye. Quite severe. A nighttime lubricant being one of the treatments to add to my already daily treatment of drops and hot compresses and a Bruder mask; computer screen brightness turned way down and sunglass flippers when outdoors. I do it all. 

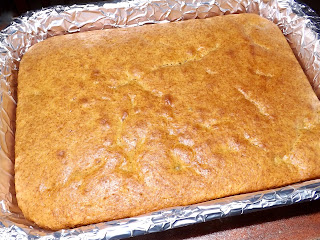
Today I baked. I baked two loaves of cinnamon bread. Recipe at end here. High level project due to dishwashing and cleaning my mess. Result? WOW!  Would I do it again? Nope. I have been wanting to bake this for at least two years. Good results.

I suggest slicing with an electric knife.

XXXXXXXXXXXXXXXXXXX

Cinnamon Bread

Ingredients

For The Batter:

  • 1 cup butter, softened
  • 2 cups sugar
  • 2 eggs
  • 2 cups buttermilk or homemade buttermilk— 2 cups milk plus 2 tablespoons vinegar or lemon juice
  • 4 cups flour
  • 2 teaspoons baking soda

For The Cinnamon/Sugar Mixture:

  • 2/3 cups sugar
  • 2 teaspoons cinnamon

How To Make Cinnamon Bread

Cream together butter, 2 cups of sugar, and eggs. Add milk, flour, and baking soda. Put 1/2 of batter (or a little less) into greased loaf pans (1/4 in each pan). Mix in separate bowl the 2/3 c sugar and cinnamon.
Sprinkle 3/4 of cinnamon mixture on top of the 1/2 batter in each pan. Add remaining batter to pans; sprinkle with last of cinnamon topping. Swirl with a knife. Bake at 350° for 45-50 minutes or until toothpick tester comes clean. Cool in pan for 20 minutes before removing from pan. Makes 2 loaves.

Monday, December 19, 2022

My Last Hurrah For These!

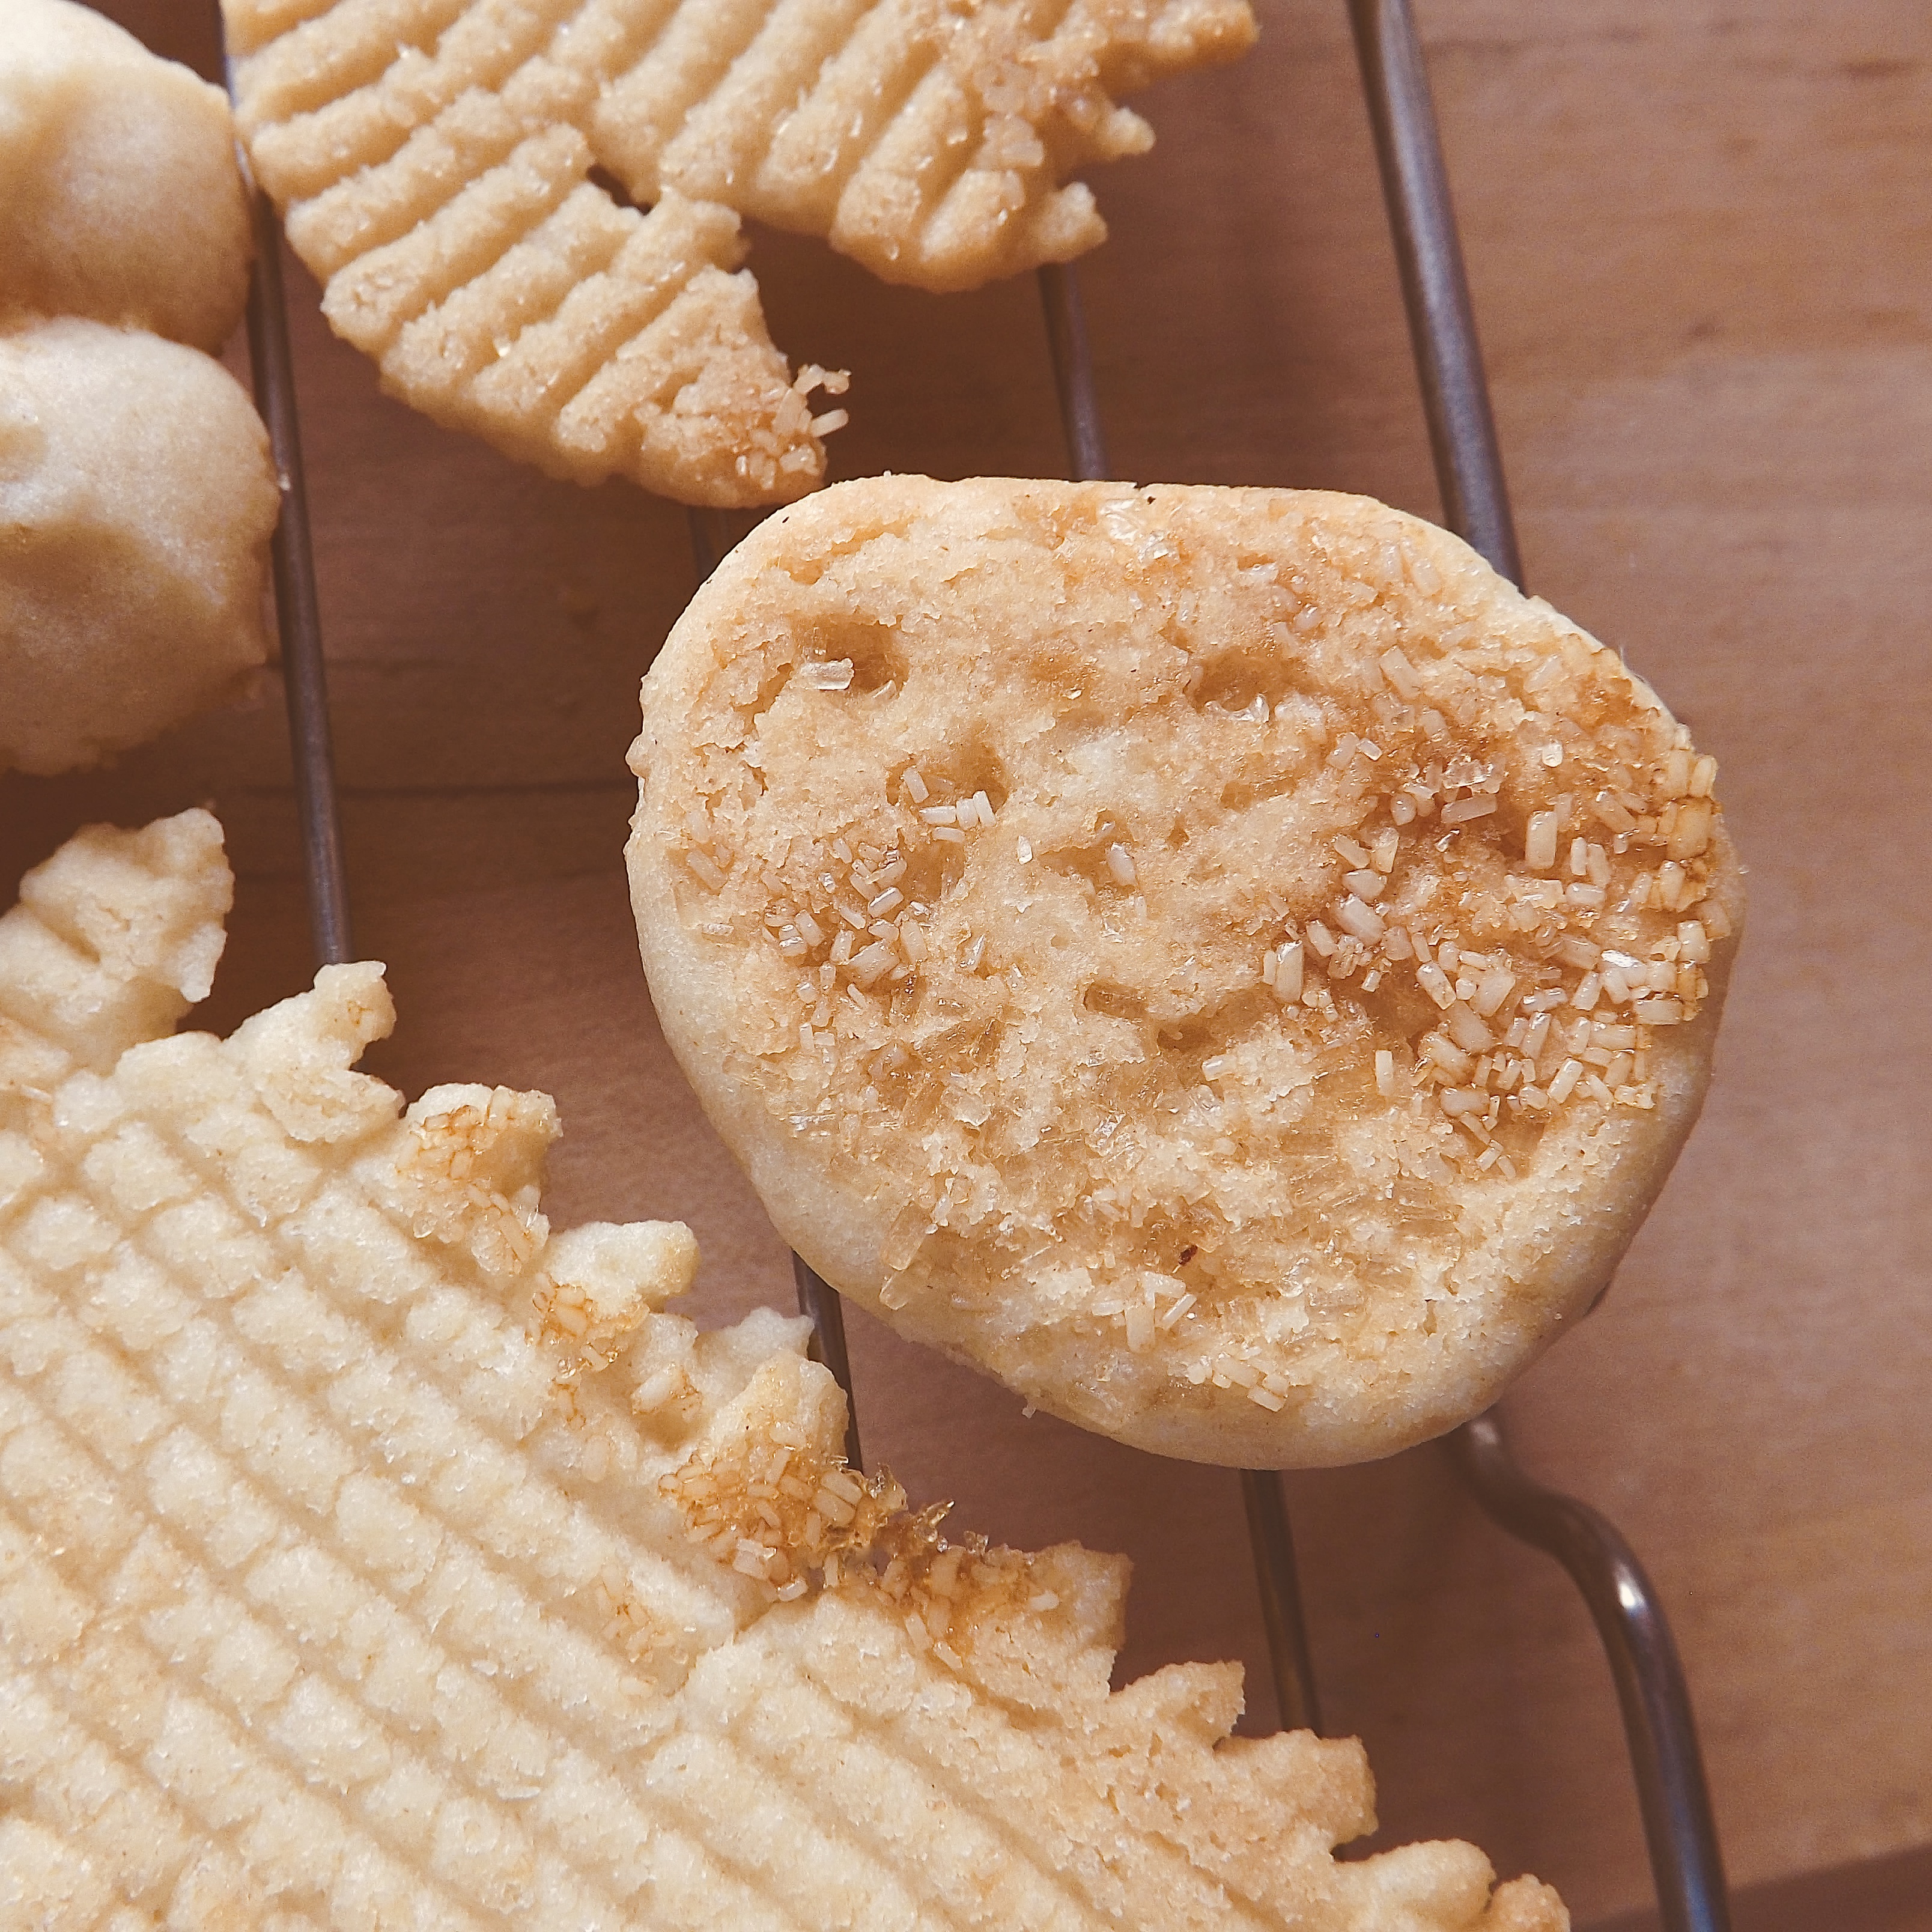
I have been procrastinating for several weeks because I wanted to make a batch of cookies that I haven't done for many years. 2014 to be exact! Today I kicked my starter and did it! 144 cookies later (12 dozen) and totally whipped, I want to present these to you. Since I didn't have any colorful sparkles or squeezable icings, they are plain except for some raw sugar sprinkles. Have you ever had a Lorna Doone cookie? These are similar in flavor and texture. Yum!

Some of these just don't belong...
So I ate them!
After the big cleanup, I packed my 50 year old tools away for another day, another person to use. I will admit some of the recipes look good!
tap on image to view larger

Thursday, February 3, 2022

Cookies & Milk

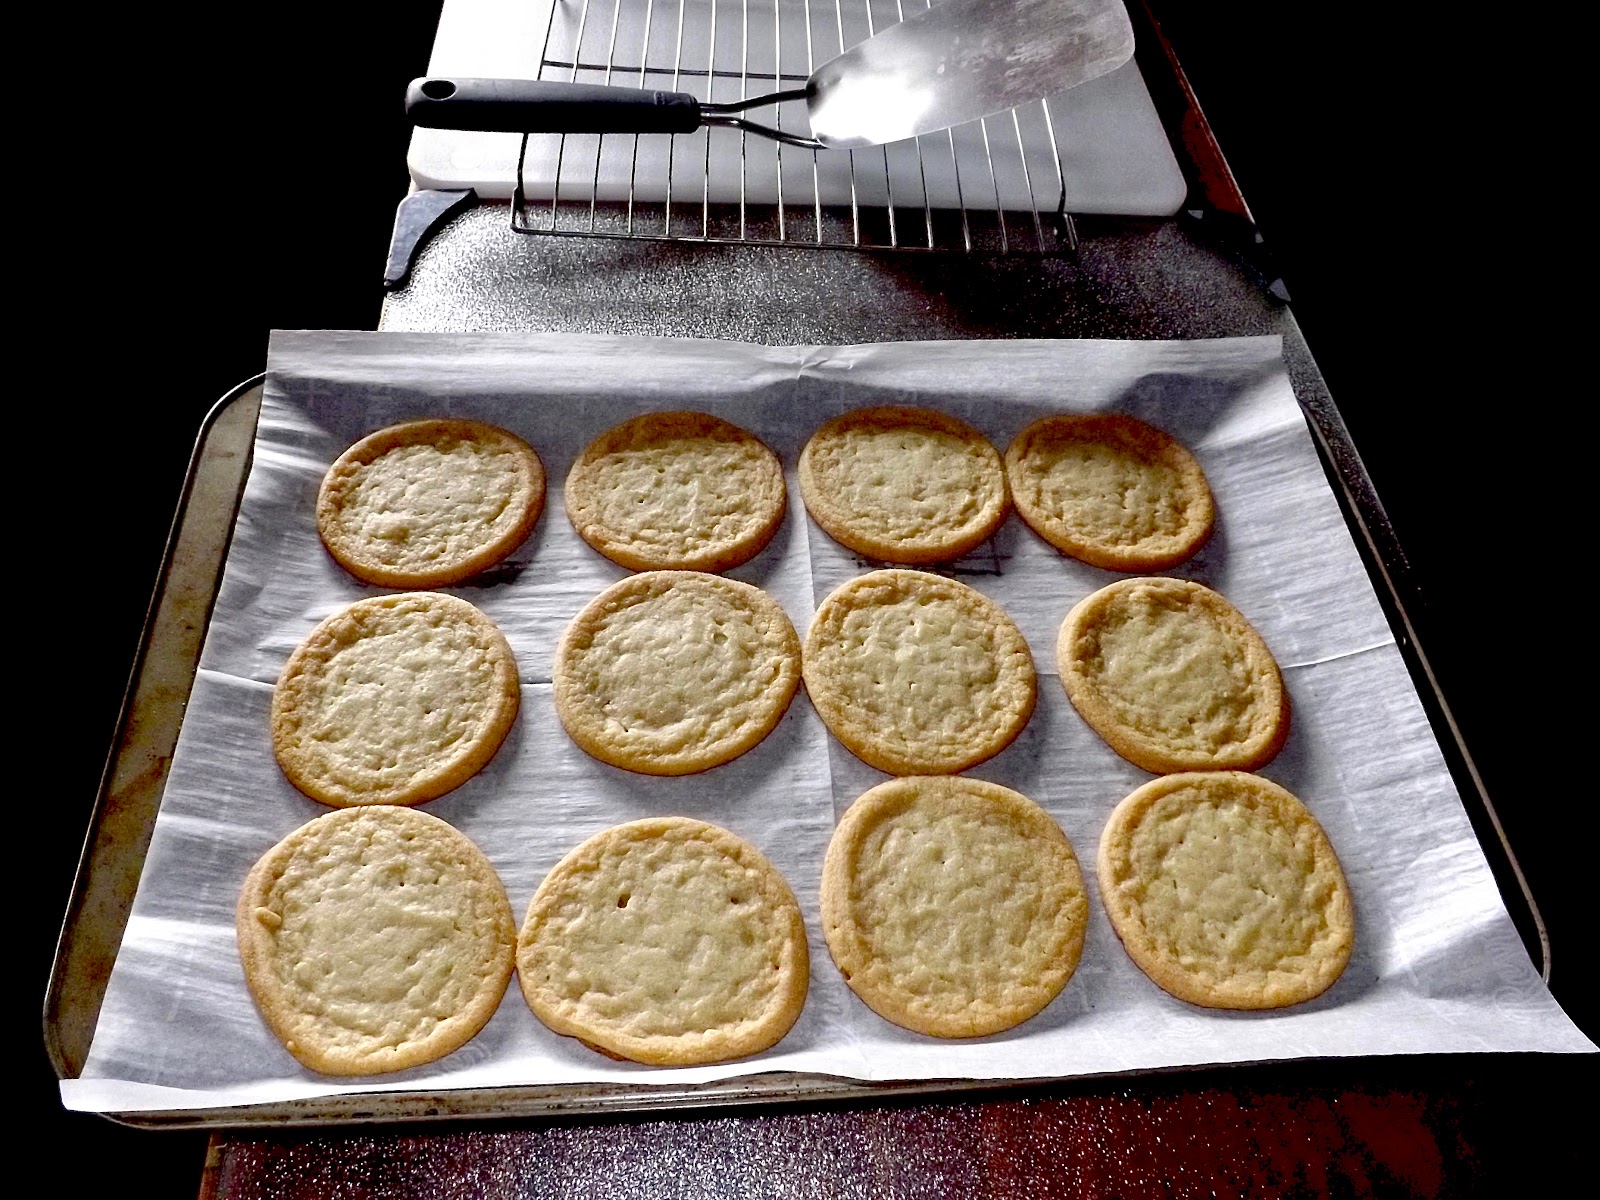
That is a silly title isn't it? Well what I'm saying is that I baked three dozen sugar cookies this morning. 

Then when it came time for my lunch treat there was an argument in here! You see I usually drink a glass of milk with cookies. Well... Yosemite Sam who has been around here since 1976 (marked) thought I should use one of my other glasses for milk as he prefers water. The four Tom & Jerry sports set of 1991 (marked) don't want to be used at all! They play tennis, baseball, soccer and football and don't want milk! They only want sports drinks...
The battle of glasses went on when I suggested orange juice, cranberry juice, pineapple juice, and fruit punch flavored water. That didn't go over well so Sam lost and had to be filled with milk!
tap on image to view larger
Lesson learned — sometimes age looses. How these glasses have survived without breaking is a wonderful thing! 

Friday, January 14, 2022

Yum!

This is the first baking project of the year. Instead of pumpkin pie, I made pumpkin cake! I embellished its interior with dried Bing cherries! Soaked them in boiling water and then used the same water that was called for in the recipe. The butter cream icing was my own, not from a can. This took me all morning to complete, but now I have some to share with whoever....  My old handheld mixer with the wonderful long cord doesn't go on high speed anymore. Guess it's dying, but it did the job. The reason I didn't use Big Red is because the thick glass bowl is very heavy and my shoulder told me not to. Coulda - shoulda! Oh well....  I gloat with my success! It is wonderful!! Sorry that the mail carrier, propane delivery fellow and the sweet woman who does my laundry all came before it was finished. I'll try to save a piece for the yard guy who might be here for snow removal and my daughter may stop in before the upcoming storm. You'd like a piece? Come on over! Hang on to your hat, it is very windy!
You won't even have to help wash the dishes.

tap on image to view larger

Monday, April 27, 2020

Back to the 40's

Or it might be the 50's, I'm not sure.

This recipe clip that I found on the internet many years ago came from an old magazine and I had saved it but don't even remember even baking one! Today was the day.
As I got the ingredients out in preparation to make this cake, I noticed that my cocoa had gone lumpy but decided to use it anyway in both the cake mixture and my scratch icing. (It was in a new sealed container.)
From the internet
The mayonnaise cake originated during the Great Depression when people didn't have as much access to eggs and oil. Brands who made mayo even added the recipe right to the jar! You can see there is no added salt in this recipe and that is because there is salt already in the mayonnaise. 

My Results:
please click on image to view larger
OH YES! It was delicious!
AND THEN! I found this article on the internet. This is the image I saved many years ago. Please click on link below.

Friday, January 24, 2020

Granny's Cobbler II

Just HAD to try the cobbler with the oranges. I will say that the pineapple variety was firmer and we liked it better, but both were good. I guess the next one will be made with fresh peaches - in season of course!
please click on image to view larger
Recipe may be seen below
Granny's Cobbler
1 stick butter
1 C. milk
1 C. sugar...
1 C. flour
1 tsp. baking powder
Dash of salt
1 qt. (4 cups) fruit, sweetened (peaches, cherries, blackberries, etc.)
Melt butter in baking pan. Mix flour, sugar, baking powder, salt, and milk. Pour batter in pan on top of butter; cover with fruit. Do not stir; batter will rise to top as it bakes and absorb the flavor of the fruit. Bake at 350 degrees for 1 hour. Serve warm with whipped cream or ice cream. So easy!

Note: A 9" by 13" baking dish can be used.
If using canned fruit, drain fruit. If using fresh fruit, sweeten with a bit of sugar to desired sweetness. (I use 1/8 cup)

              Source: Granny's Kitchen p.364
              www.grannyskitchencookbooks.com 

Thursday, January 9, 2020

My, My, Apple Pie

I noticed that there was just one package of dehydrated apples left in the freezer. It was dated October 2017. Yes, I know they would have lasted much longer but we were hankering for pie, so....

I have used this simple recipe many times and it is a no-fail project. The Mister just had his daily mid-morning snack and kept smackin' his lips and ummmmmm-ing! A winner again!

I like like the no-muss, no-fuss aspect. I did add about 1/2 C of golden raisins, just because I had some on hand.
^^^^^^^^^^^^^^^^^^^^^^^^^^^^^^^^^^^^^^^^^^

Apple (Dried) Apple Pie
1 1/2 cup boiling water
1 1/2 cup dried apples
1/3 cup sugar
1 teaspoon cinnamon
1/4 teaspoon ground nutmeg
2 tablespoons butter, cut into small cubes
Pre-made, unbaked two-crust pie dough (available in your local grocer near pre-made cookie dough)
In a large bowl, pour boiling water over the dried apples and let soak for a few hours or until they rehydrate. Once rehydrated, add the sugar, cinnamon, and nutmeg. Stir until well combined.
Preheat your oven to 350 degrees. Line a 9-inch pie pan with the pie dough. Pour the apple mixture into the pie pan and add the small cubes of butter so that they are well distributed across the apple mixture. Cover the pie with the remaining pie dough. Using a fork or your fingers, press down the pie dough sides so that it forms a rippled crust.
Bake for 45 minutes. Remove from oven, let cool, and serve.
To view larger, please click on image
I'll have to hydrate more apples this year. FOR SURE!

Sunday, December 29, 2019

Scullery Work

It seems as if I spend a great amount of time in the kitchen area of this old cabin. I sure do wish that there was a real walk-in pantry here where I could access my pots, pans, kettles, roasters, nut choppers, baking pans and dishes, storage containers, and all of the small electric appliances that I use on a regular basis. Wouldn't that be nice? There is EVERYTHING here to cook, bake or roast anything! We have food choppers, slicers, a food mill, bowls, graters, scales, strainers, colanders, BUT most is stored under the L-shaped counter deep in the cupboards. Yes, lots of space there;  hard to access most of it but at least I know what is there and where it is.

Then, it also would be a wonderful thing if baking supplies, canned goods, boxes, bottles, packages, and all other food items could be handy and not scattered here and there in cupboards, on shelves and counters. It's not that I don't know what is there, it is that it is sometimes not organized as I would like and not visually open.

Am I complaining? Yep!  Will it change? Nope! I don't even miss having an electric dishwasher. Had one for over 25 years with large family. The the best of all thing is that there is a huge old porcelain sink with drainboard and I would never have a double small basin variety. Never! How would I wash the large old bowls and kettles?  Nope! The under sink cupboard holds dozens of cleaners and polishes, cutting boards and large jugs of ammonia, bleach, vinegar.

Yes, dozens of utility implements hang on the log walls in the area. How handy is that? There are many taking residence on the vintage towel rack on the wall as well.

Come on over, and I'll show you how to manage my scullery!

By the way, the stovetop burners are covered with common and often used cookware and the interior of the oven is a good storage area for baking sheets and pizza pans!

In the past couple of days I have juiced over a dozen oranges, chopped and bagged two pounds of walnuts, roasted a pork roast for dinner and shredded the remainder for BBQ. As I write there is a 3 lb. beef meatloaf in the oven with wonderful aroma permeating the entire cabin.

No wonder I'm called a "foodie!" Now what to do with these Christmas apples? 

Tuesday, May 7, 2019

Bake a Bread...

Have two to do! First the cherry almond and tomorrow the banana. The banana is a must, due to the ripeness of the fruit calling out to me. The cherry almond was a first-timer. It came out very good but a little dry. We liked our slices re-heated in the microwave for a few seconds with a little butter spread. That fixed it!  It's a good thing we have a freezer.
click on image to view larger
The sweet aroma lingers still after
5 hours!


Cherry-Almond Bread (Dried cherries)
Ingredients 
1 1/2 cups boiling water 
2 bags (5 oz each) dried cherries (1 1/2 Cups) 
1 cup packed brown sugar        
1/2 cup butter or margarine, softened
2 eggs
1/2 teaspoon almond extract
1 3/4 cups Gold Medal™ all-purpose flour
1 1/2 teaspoons baking powder
1/2 teaspoon salt
1 1/2 cups slivered almonds

Steps
  • 1.  In medium bowl, pour boiling water over cherries; let stand 20 minutes. Drain. Heat oven to 325°F. Spray 9x5-inch loaf pan with baking spray with flour. ( I lined with Release foil)
    2.  In large bowl, beat brown sugar and softened butter with electric mixer on medium speed until well blended. Beat in eggs and 1/2 teaspoon almond extract until mixture is smooth. Stir in flour, baking powder and salt just until dry ingredients are moistened. Stir in almonds and cherries; mixture will be thick. Spoon into pan.
    3.  Bake 60 to 70 minutes or until toothpick inserted in center comes out clean and top is dark golden brown. Cool 10 minutes on cooling rack. Loosen sides of loaf from pan; remove from pan, and place top side up on cooling rack. Cool completely, about 1 hour. Drizzle glaze over completely cooled bread (optional).
  • Glaze (optional)
  • 1/2 cup powdered sugar
  • 1/4 tsp. almond extract
  • 1 to 2  tsp. milk

Tuesday, December 18, 2018

MMMMMMuffins!

A few months back, our daughter brought us a 2.5 lb. bag of frozen blueberries. It sat in the freezer until this morning when the mood to bake struck.  I found a recipe I had saved but never used and was in a daring frame of mind, as I'm not crazy about blueberries.  These particular berries are cultivated at Peterson Farms in Shelby MI. Michigan is the nation's leading producer of cultivated blueberries. Fresh frozen cultivated blueberries can be enjoyed all year long. 

I must say that they are REALLY tasty and moist. 
Please click on image to be inspired to bake 
As I write there are only 3 left! I must save one for my brother who brings me venison. We each had a morning snack and one is packaged for the trash collector/driver who comes today. 

RECIPE
~~~~~~~~~~~~~~~
Very Blueberry and Lemon Muffins


1 3/4 cups all-purpose flour
2/3 cup sugar
2 teaspoons baking powder
1/4 teaspoon salt
1 egg
3/4 cup milk
1/4 cup butter, softened
2 tablespoons lemon juice
2 teaspoons lemon zest
1 cup blueberries (if using frozen blueberries, thaw and drain first)
extra sugar and lemon zest for the tops
Combine the flour, sugar, baking powder, and salt in a mixing bowl. Add the egg, milk, butter, lemon juice, and zest.

Stir to combine–the batter should be lumpy. Don’t mix it too hard. Muffin batter doesn’t like that. Gently fold in blueberries. Lightly grease muffin cups or use paper liners. Fill each cup about 2/3 to 3/4 full. *This should make 12 muffins. Sprinkle extra sugar and lemon zest on the tops.

Bake at 400°F for about 20 minutes or until golden. 
*If making only 6 large ones, bake for about 30 minutes (no longer) and remove from pan before completely cool. 

Thursday, April 26, 2018

Bummer

Just as things were looking up, things are STILL not in tune with the date. I have half of a mind to cut some of my daffodils and bring them indoors. I KNOW they will bloom then! The seedum are all doing fine but just look at the sorry shape of the daffodils that are in front of the cabin. The ones up in the rock garden are looking worse! Today wasn't too bad, but more rain is expected for the next several days. 
Now I'm thinking about baking a large pan of Zucchini Supreme tomorrow; will post the recipe. It is very tasty and then maybe this idea will hurry the season along, ya think? When all else fails - - - BAKE! At least I can control whether to make Zucchini Cake, Zucchini Cheezy Casserole, Zucchini Pineapple Bread or Zucchini Supreme. These are all tried and true favorites and making room for an upcoming summer supply replacement may be a good idea.

I can't control the blooming of the daffodils.

Sunday, March 4, 2018

Sun's OUT!!

That is definitely not the same as saying, "Lights out!"

Temperature never went above 30° today but the snow is melting anyway - a little, and the icicles are forming once again. Wind continues to blow and BLOW!

I baked a cake. We haven't had cake in quite a while. I'm not crazy about chocolate but the Mister is, so......
click on image to see the sweetness
I even crumbled some dried cherries and a frozen brownie to make sprinkle topping. He licked the spatula and the bowl of the icing too!

“None of us are getting out of here alive, so please stop treating yourself like an afterthought. Eat the delicious food. Walk in the sunshine. Jump in the ocean. Say the truth that you’re carrying in your heart like hidden treasure. Be silly. Be kind. Be weird. There’s no time for anything else.” ~ Anthony Hopkins ~

Tuesday, November 28, 2017

Frugal Baking

Have you ever cut a 21/2 pound acorn squash in half, cleaned it out, baked it on a cookie sheet in the oven, and when it was done, scooped it out, mashed it with butter, salt and pepper, cinnamon and brown sugar? If you have, you would understand exactly why I just could not throw away the remaining squash from Thanksgiving dinner. I was happy to see that there were two cups left over as that is what a pumpkin pie calls for. I didn't use white sugar because I had already put brown sugar in the squash dish. I much prefer to make a pumpkin pie with sweetened condensed milk instead of evaporated milk but couldn't this time. It would have been way too sweet. I had also used cinnamon so I only had to add clove and ginger spices.  Sooooooooo, now we have a squash pie! YUM! 
please click on image to view larger
Yes, it was very tasty!! VERY.


Thursday, September 7, 2017

I Baked it Again


IF you haven't been tempted before this may be your last chance to make this wonderful treat before the apples come in to make you busy like I plan to be. The Flamin' Fury peaches were juicier than the Lorings and the pan I used this time was an 11 x 14 inch baking pan, lined with foil so my cleanup won't take much effort.

Peach Cobbler
INGREDIENTS

1/2 cup unsalted butter (I used salted butter)
1 cup all-purpose flour
2 cups sugar, divided
1 tablespoon baking powder Pinch of salt 
1 cup milk
4 cups fresh peach slices (The second cobbler consisted of three very large peaches and I didn't measure.)
1 tablespoon lemon juice (real hand-squeezed lemon)
Ground cinnamon or nutmeg (optional) (I sprinkled both on top) I incorporated it into the batter the second time I made it. 

PREPARATION

Melt butter in a 9 x 13 inch baking dish. 
Combine flour, 1 cup sugar, baking powder, and salt; add milk, stirring just until dry ingredients are moistened.
Pour batter over butter (do not stir). 
Bring remaining 1 cup sugar, peach slices, and lemon juice to a boil over high heat, stirring constantly; pour over batter (do not stir). Sprinkle with cinnamon, if desired. 
Bake at 375° for 40 to 45 minutes or until golden brown. Serve cobbler warm or cool. 
please click on image to view larger