Followers

Showing posts with label experiment. Show all posts

Wednesday, November 24, 2021

Mamma's Baking!

In our later years, the Mister used to say whenever I pulled out stuff to bake something, "Look out! Mamma's baking!"  That really meant for anyone in the house to stay out of my kitchen. Seriously! Especially him! Yes, I never minded the kids watching and helping, but as I got older I just needed the space and quiet to make my creations. My kitchen is my domain.

Today I baked a frozen pumpkin pie from Schwan's and have no idea if it will be tasty or not. Testing will be later today. I also baked a pumpkin spice quick bread loaf from Krusteaz. I have always found that anything sold by Krusteaz comes out delicious and perfect.

BUT! last night I took a cup of dried bing cherries and covered them with Amaretto to soak overnight. Then this morning I strained them and added water to the juice to make the 2/3 cup of water that was called for on the box. That means that half of the liquid was Amaretto and the other half water.  I bounced the strained and soaked cherries around in a bowl with a little flour so they wouldn't stick together before adding the liquid, oil, eggs and mix. The results are very satisfactory.

It is always good to have Cool Whip for topping in the freezer and I especially like the extra creamy variety. 

Cleanups are always part of the 'fun to be dun'.

Don't forget to tap on image to smell the goodness
P.S. Got my booster yesterday. Feeling fine.

Saturday, November 13, 2021

Hours

I think I might be getting the knack of doing this ArtRageApp. Way too many possibilities and this one took 2 hours! Good project for a rainy day!

tap image to view closer


Don't judge me!
The rain made me do this.

Sunday, September 5, 2021

Spare Time in the Kitchen

My neighbor dropped off four Patty Pan squash as my daughter had mentioned that in the past, her mother-in law loved them, but she had never had any. Well I never had any either and researched how to use them. The first thing I realized was that the ones that were donated were very large. Most recipes on the internet said they are best about 3-4 inches in diameter. Well two of these are 7" and two others are 8" in diameter! What to do? How not to waste these?

Before daughter comes over to get them I experimented on one, just because I could! 

I happened to have a pound of maple bacon thawed and figured I'd incorporate some of it into a mixture of squash chunks. I remembered that I have three hot dog rolls in the freezer and thought I could cut them into small bread cubes. I had recently chopped and froze some onions and also have some fresh cloves of garlic on hand, so I proceeded to work on these items. 

The first thing I did was to scrub down all four squash. Then I picked one and put it in a pot of water about 1 inch deep and par-boiled it for about 10 minutes because the skin seemed very tough and thick. After letting it cool down I scooped out the (large) seeds and cut off the skin and made small chunks. All were put into a large bowl.


After draining and mashing the bacon, I smashed it in a baggie with my marble rolling pin, making smaller bits and pieces. About half went into the bowl. The cut up hot dog rolls went in next. The chopped onions, one minced garlic clove, shakes of pepper, salt, oregano, basil and thyme followed with about 1/2 cup of Parmesan-Romano cheese. All was mixed together by hand. I then patted it into a foil-lined glass baking dish, topping with drizzles of EVOO and a little 1/2 & 1/2. This was covered and put into the refrigerator overnight. 

Results tomorrow. I already had thawed some jumbo shrimp for my dinner.


Thursday, August 26, 2021

Try It!

My daughter brought me a sealed plastic baggie of freshly picked and washed Swiss chard from her garden.  This is her 2nd gift as I told her how much I loved the first bagful. Have you ever had Swiss chard? It is a lot like spinach and full of vitamins, especially iron. The stalks are a variety of colors and I pull off the leafy parts from the large ones.

This time I made a soup! I boiled the leaves for a few minutes and then strained them.  I used one can of cream of mushroom soup and one can of whole milk in the stove top pot. I brought it to a slow simmer and added a pat of butter, some salt and pepper, paprika, onion powder and celery salt to the mixture. I then added the drained Swiss chard along with two chunks of sharp cheddar cheese and brought it up again to a slow simmer stirring until the cheese was melted. No recipe - just my own conglomeration. 

Let me tell you it was a fantastic soup and a very successful, tasty meal. I shall make this again for sure! I wish I could share it.

please tap image to view larger
For more info., this is an informative site:

Sunday, August 22, 2021

Project Pickles

For many years whenever I visited my daughter and son-in-law in NJ, I had the pleasure of enjoying really wonderful Italian meals. They lived in a mother/daughter home and most meals were brought up to her son's section for dinners. Her mother-in-law was a great and traditional cook, but the best thing I ever tasted (honestly) were her eggplant pickles. After she died, I asked her family members if anyone knew her recipe for the pickles. NO ONE had a clue!  Several years later I came across one and thought I would make this, hopeful that the texture and flavor would at least come close.

I was about to find out! The eggplants I had were quite large so I decided to do just one for my experiment. 

After peeling and slicing it into strips, salt was added and then the mixture rested for 10 hours! Then it was drained thoroughly and then put into a boiling mixture of water and apple cider vinegar. This mixture was boiled for about ten minutes and strained and the juices pressed out.  (I didn't have wine vinegar on hand as the recipe called for.) Then the canning jar was filled with boiling water and the lid and top were sterilized. 

Fresh garlic cloves from a neighbor's garden were minced and I added dried parsley (no fresh on hand) to the cooked strips in a bowl and mixed well.  After jarring (only 1 pt. yield) the contents were covered with extra virgin olive oil. Tomorrow will be the taste test. I sure hope they are tasty! Even if they aren't as good as I remember hers were, I have high hopes they may come close. Well shall see.

please tap image to view larger


Saturday, June 27, 2020

Rewarding Venture

Success! My third fermentation is my creation and a success. Next project? Hopefully it will be cauliflower florets. The local farm market is displaying them and I'll probably use my same mixture or perhaps use white vinegar instead of the apple cider variety so the brine won't be so dark. I think now that I'm getting the knack of using my beautiful pot! I did have to add a bit of water to the lid grove during its three week fermentation period.
Geraldine’s Fermented Pickled Asparagus
Friday, June 5, 2020

About 20 fresh asparagus spears. Cut tips with 3 inch stems. Cut to 1 1/2 inch pieces. You will then have a mixture of short tips and stalk pieces. *

Mix together:

3 T. Turbinado cane sugar (sugar in the raw)
1 1/4 C apple cider vinegar
1 T. natural sea salt
1/4 tsp. celery seed
1/4 tsp. dill seed
1 tsp. whole black peppercorn
10 whole cloves
(I would have added mustard seed but was out of it.)

Heat all ingredients on low, stirring to dissolve sugar completely.

Place asparagus pieces in fermentation pot and cover with above warm mixture. Place weights on top and push down. Cover and add water to pot groove.

Ferment for about three weeks. Jar up and keep refrigerated.

*The remainder of asparagus stalks may be sliced,  cooked, pureed and made into cream of asparagus soup!

Finished June 27, 2020 and is PERFECTLY DELICIOUS! Crunchy, pickled, and pleasantly flavorful!

Recipe created by GMR


Wednesday, July 24, 2019

Feeling "Artsy"

My original camera shot - only added dark vignette.
Then I played...
Yesterday I played with my crystal ball! Not easy!
This is the original scene...
And, if you remember seeing these yesterday I flipped the image of the ball shot.
These are the originals...
I do like a challenge and definitely need more practice!
please click on image to view larger

Monday, March 18, 2019

Baking Stuff

The other night I was putting a quiche dish together and did something that both surprised me and upset me. I had the base bread crumbles in the dish with the chopped broccoli, sausage chunks, chopped onions and was preparing the eggs to be beaten before topping it all with cheeses. Three eggs were put into the mixing bowl already and the fourth one I added was rotten! YUK! I poured the entire contents down the kitchen drain, flushing strongly with cold water. If you know me, you know I HATE waste! I started over but this time broke each egg in a separate little bowl before putting it in the mixing bowl. That worked. Lesson learned. Actually I know to do this but didn't and never will crack an egg and put it in with others until I know it is fresh. I think this was the first time in my entire life that I have encountered a rotten egg. Never again.

Today I took a BC spice cake mix and experimented with it. Instead of the 1C of water it called for, I used 1C of applesauce, along with the three eggs and 1/2 C canola oil as directed on the box. Yes, I cracked each egg separately first! I then poured the batter into the pan and sprinkled two little boxes of raisins that I had on hand over the top. I did this because the last time I mixed dried cherries, or craisins into a cake batter they sunk to the bottom. This time not! And... they were plump!
A cream cheese icing was applied and two slices were removed for our lunch dessert. It worked! They were very moist and tasty. 
please click on image to view larger

Wednesday, April 4, 2018

Cookie Experimenting

Since I had under a cup of the Ghirardelli chocolate chips left over from the previous recipe I used, I decided to make a batch of the cookies that were shown in a recipe on the back of the bag.
~~~~~~~~~~~~~~~~~~~~~~~~~~~
RECIPE
1/4 C unsifted flour
1 tsp baking soda
1/2 tsp salt
2 sticks butter (softened)
3/4 C sugar
3/4 C brown sugar (packed)
2 tsp vanilla extract
2 eggs
2 cups Ghirardelli semi-sweet chocolate chips
1 C chopped walnuts or pecans (optional)

Preheat oven to 375°.  Stir flour with baking soda and salt. Beat butter with sugar and brown sugar on medium speed until creamy. Add vanilla and eggs, one at a time, mixing on low speed until incorporated.

Gradually add dry mixture into creamed mixture. Stir in chocolate chips and nuts (if desired). Drop by tablespoon onto ungreased cookie sheets. Bake for 9 to 11 minutes or until golden brown.  Yield 4 dozen.
~~~~~~~~~~~~~~~~~~~~~~~~~~~
Here is what I did differently:
Had no nuts
Used under one cup chips
Used parchment paper on cookie sheet
First batch and second batch used room temperature dough
Third batch used refrigerated dough
Fourth batch used room temperature dough with raw sugar sprinkled on tray and over tops of cookies

Results:
First batch and second batch cookies rather small and raised - tasty and chewy
Third batch spread flatter and larger - tasty and chewier!
Fourth batch medium size - very tasty and crunchy
They were so scrumptious that we never even missed the chips at all.
We each ate three so there are 42 more to enjoy, unless someone stops in and we'll share.
~~~~~~~~~~~~~~~~~~~~~~~~~~~
please click on image to view larger

Thursday, July 20, 2017

Celery

I'm trying this after reading about it. Usually I like to munch on the heart as it was always considered a treat when I was a kid. The pictures I took this morning are when it reached only 4 days growth!

please click on image to view larger
Here is the link to the site that gave me the idea to experiment.     Click on link below.

Thursday, April 25, 2013

Experimenting..


Otherwise known as learning by doing, so I did.

It was so nice outdoors this morning that I took laundry to town and HUNG IT OUT FOR THE FIRST TIME THIS YEAR! YEA! I had to stand on a footstool that we carry in the vehicle when we travel so I can get in the truck easier because of my shoulder injury last year, but I did it! I hung out laundry on the clothesline!

Then, feeling so proud of myself, I dug out my tripod that I had buried deeply in the closet thinking I wouldn't be able to use it much anymore. I first had to practice its use and the tilting feet were frozen, but husband got them unstuck and I relearned the various functions until I thought I had it under control. Donning brimmed cap and sweater, out the door I went. Now you must know that I only once ever used the Panorama mode and it came out terrible and warped and not good at all. Determination and persistence "seem" to have paid off, because the results are very satisfactory - to me at least! I already have discovered that, after uploading them to the computer, if I view them as large as possible they don't look warped at all. It looks as if I'm really standing in the road and turning around and looking out over the lake. What do you think? 
Please view them as large as you can 


Sunday, January 20, 2013

Sweet Potato Vine Project


In October when we were in SC, a beach friend and I were discussing the value of eating vegetables and the sweet potato. It's the only vegetable I simply cannot stand, no matter how it is prepared. She has promised to make a sweet potato pie that she calls "awesome" the next time we get together and I promised to try it. I love pumpkin pie, and if it tastes the same or close, I most likely will devour it.  

Anyway, this conversation led to my old brain pulling up a memory of growing a sweet potato vine when I was a young girl. Now that's a LONG time ago! What I remembered was all sorts of containers of sweet potatoes lined up on the windowsill in my 1st or 2nd grade classroom and each potato had toothpicks stuck in their middles. Then I also remembered that my mother had the same thing growing in a water glass on the sill over her kitchen sink. I had to try it.

My friend bought some for themselves to eat and gave me one. It traveled 764 miles back with us to PA on November 1 and laid on the countertop for a couple of weeks. 

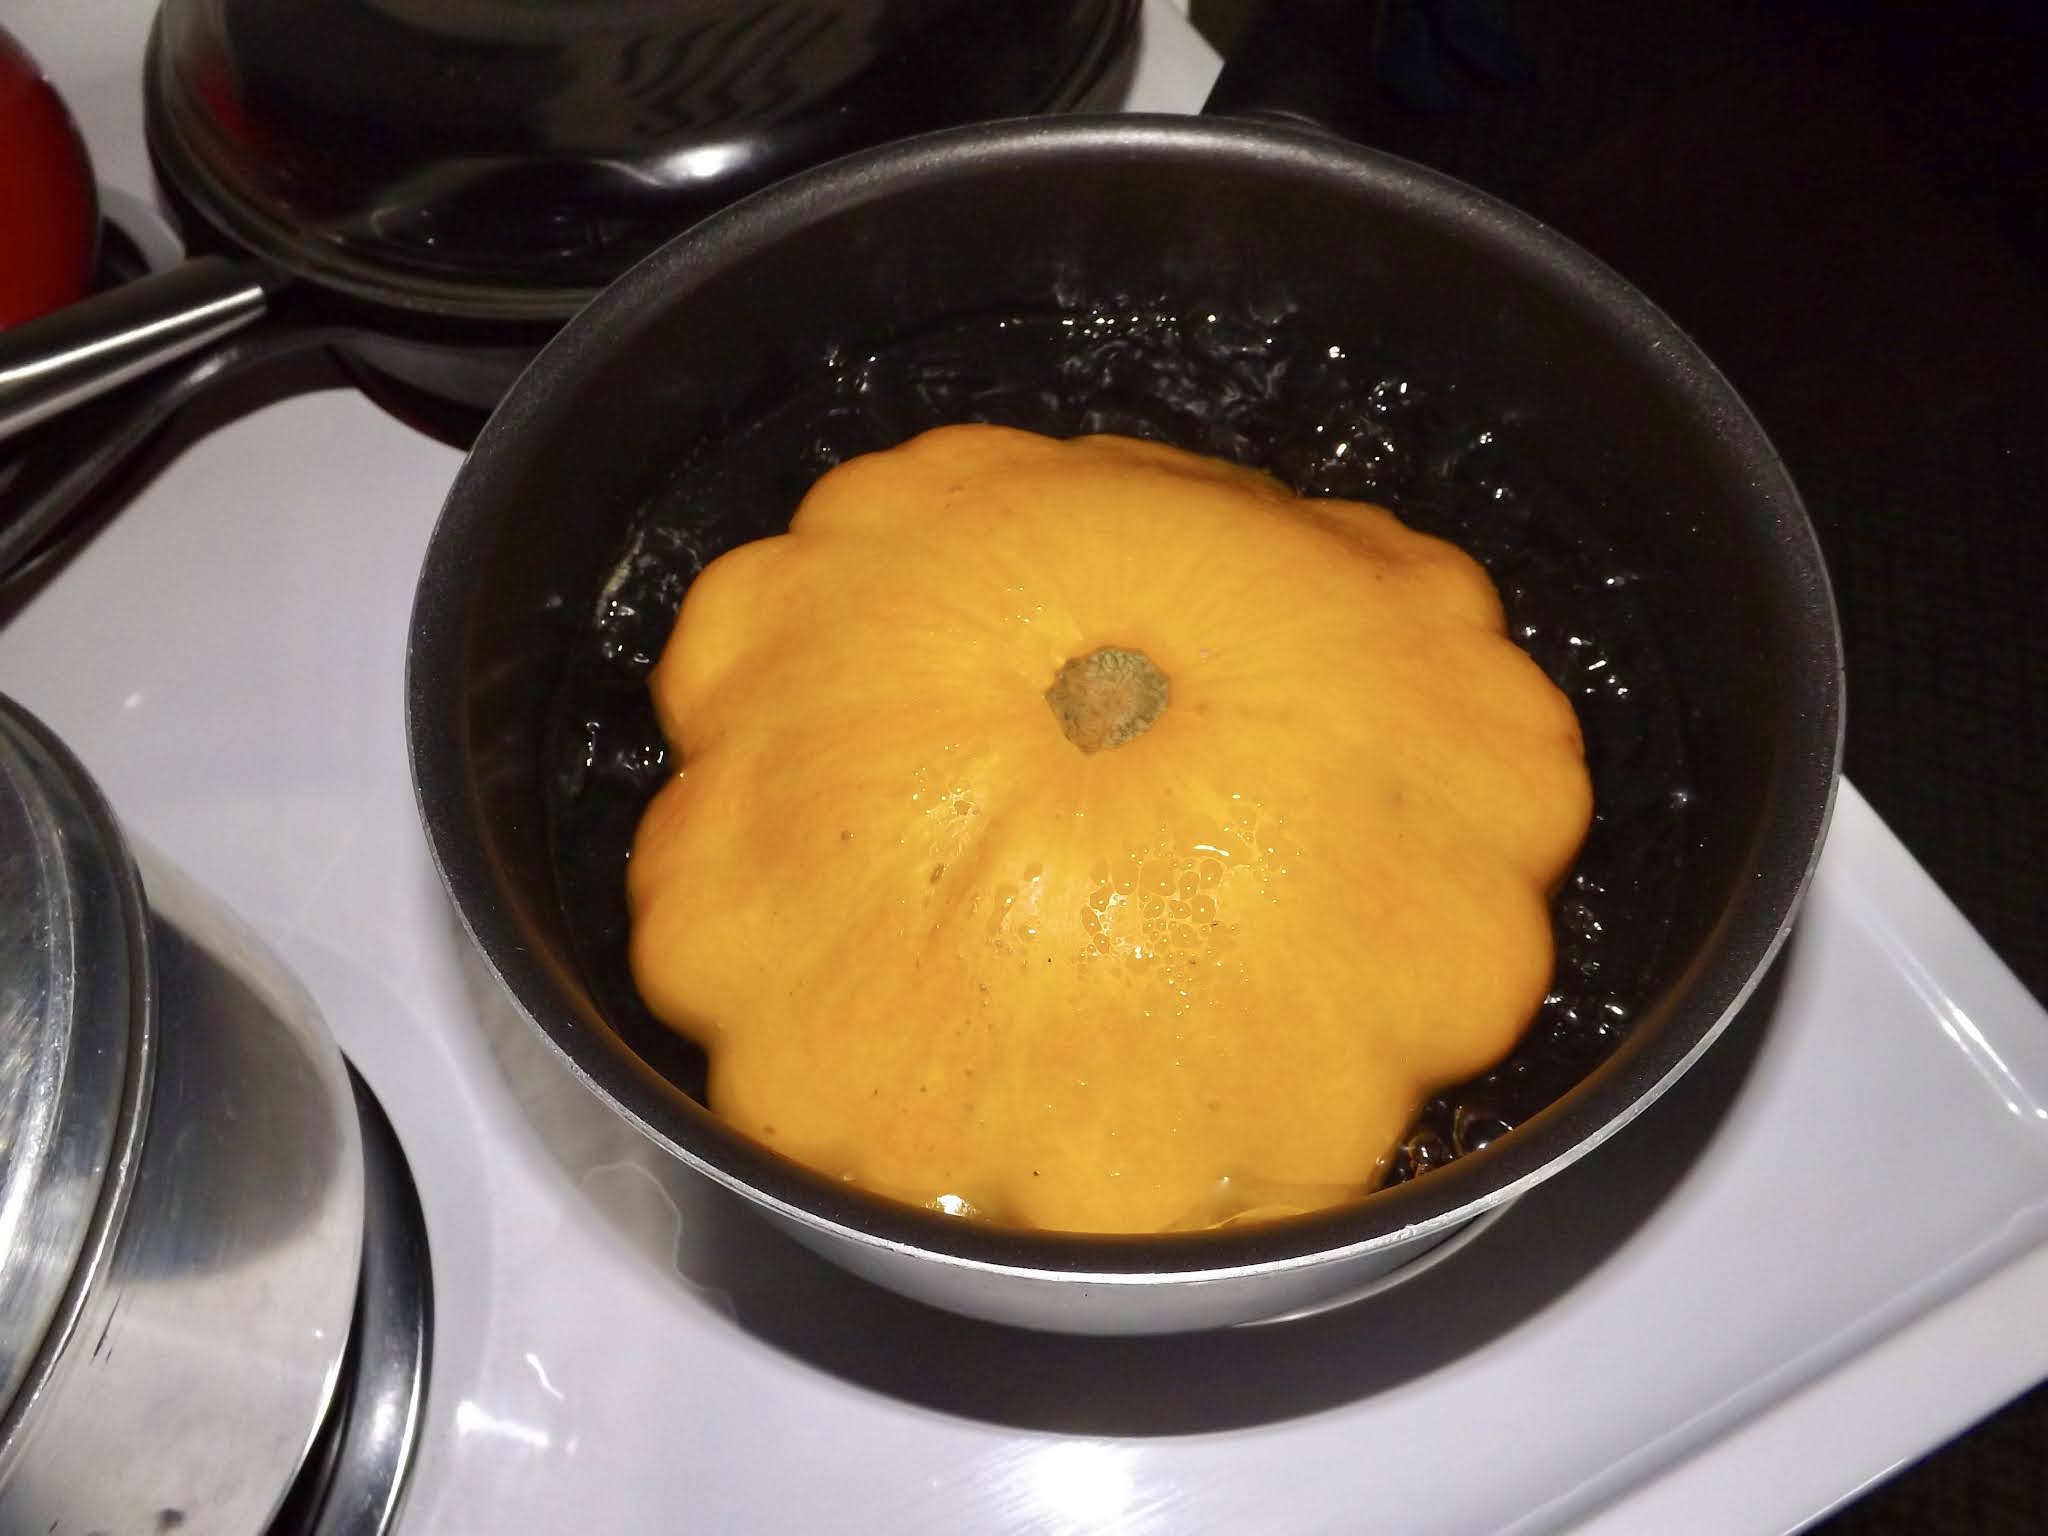
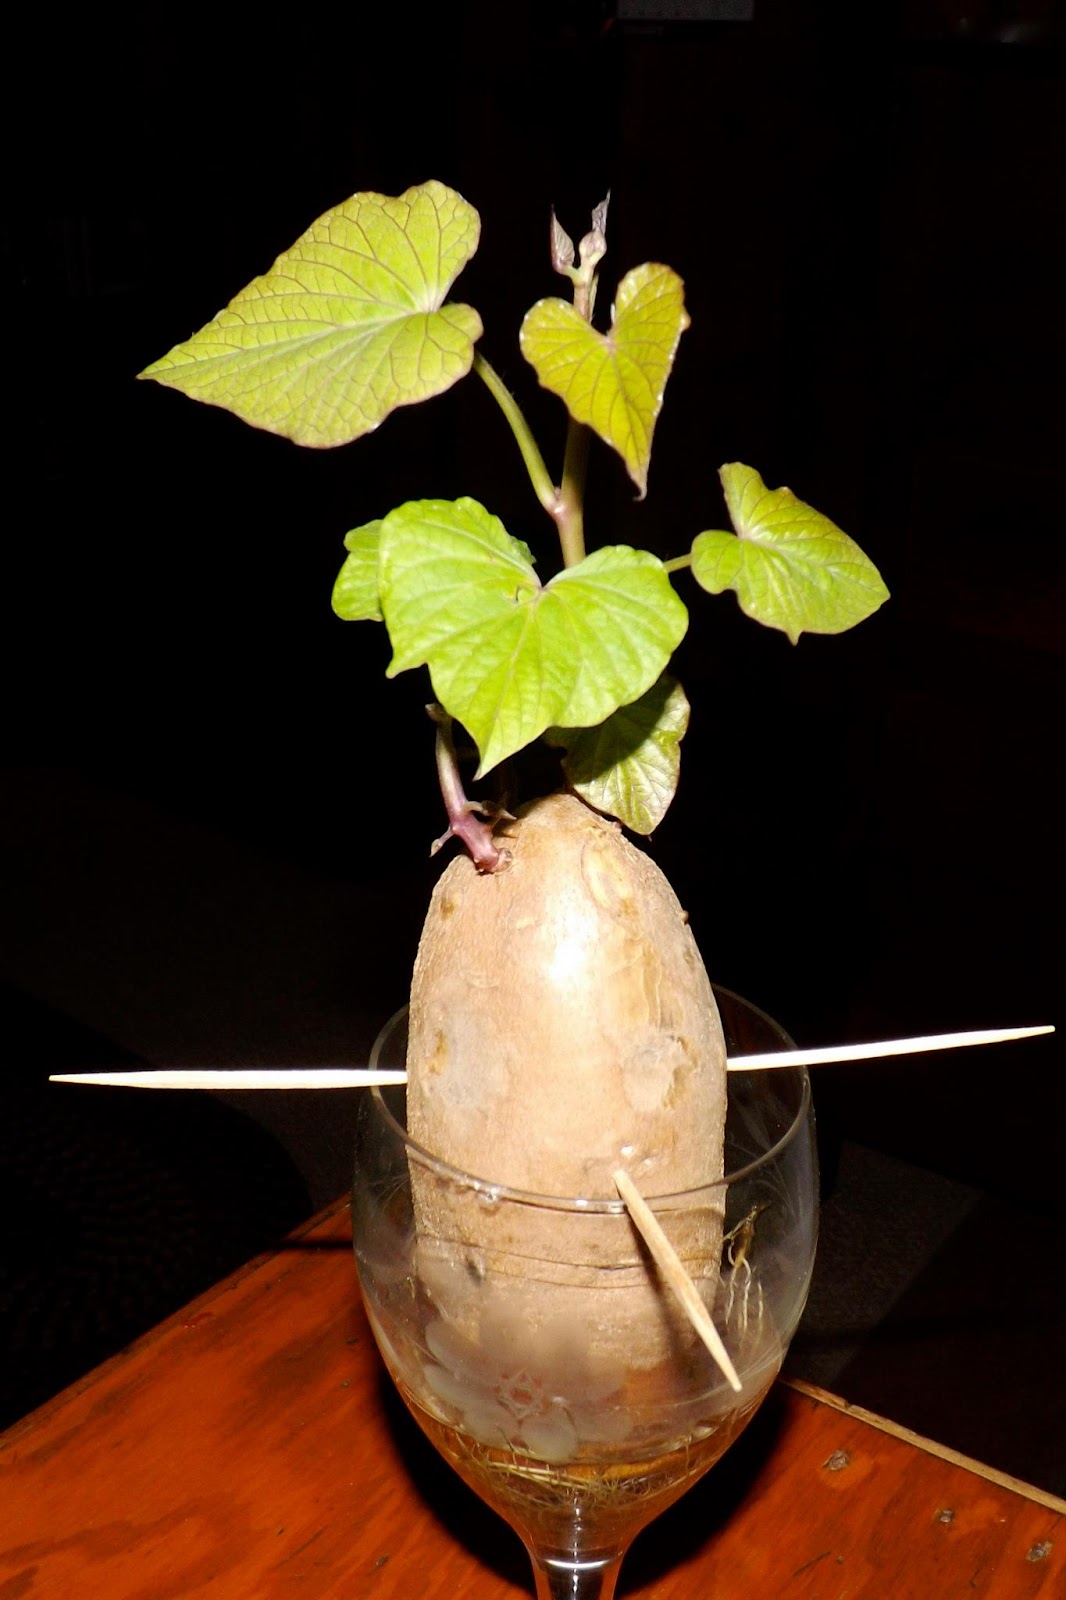
Really not doing much with it, and wanting to use only my memory to start it, I cut off the bottom, poked toothpicks into its body and found a container to suspend it over tap water. The container having just the right opening happened to be a single wine glass that I had kept from my mother's things. 

The real story is now in these photos. I changed the water about every two days, but don't know why. Maybe, because we have well water here I thought I was feeding it minerals. Anyway, it grew. I plan to take a piece of it back to SC in a month so I can give it to my friend to plant at home. Project complete! I have since learned from the internet that I didn't have to cut off the bottom. 

One more thing...please don't ever use the word "veggie" in my presence. I despise that word.
Please click on photos to view larger.

November 18, 2012 - Two weeks until sprouts appear.
December 1, 2012 - Sprouts growing slowly.
December 1, 2012 - Main root started.
December 7, 2012 - Sprout springing up.
December 7, 2012 - Total view.
December 14, 2012 - Roots developing well.
December 14, 2012 Top leaves growing well.
December 14, 2012
December 14, 2012 - More sprouts coming on.
December 21, 2012 - Second sprouts doing well.
December 21, 2012
December 28, 2012 - Time to wean first branch.
December 28, 2012 - Standing alone.
January 4, 2013 - More growths.
January 4, 2013 - Main potato doing well.
January 4, 2013 - First slip doing fine.
January 4, 2013 - Roots on first slip developing.
January 12, 2013 - Main potato still producing.
January 12, 2013 - Main potato and first slip doing well.
January 12, 2013 - Time to pot.
January 19, 2013 - First plant is potted.
January 20, 2013 - Main potato went to live here and grow more slips.
Grandson helped neighbor build one like this geodesic dome solar greenhouse two years ago.