Followers

Showing posts with label cooking. Show all posts

Saturday, August 28, 2021

First Timers

My daughter brought me a 1/4 head of a very large cabbage. I cut it up and cooked it in a little water. At the same time I cooked about one cup of elbow macaroni in the microwave oven. I put these two items together with some pre-baked small Italian meatballs and red sauce with a dollop of butter. It was just an idea I had to use the cabbage. A surprise was that it was a very successful combination, especially when I topped it off with grated Parmesan/Romano cheese. It made two meals so I froze one.

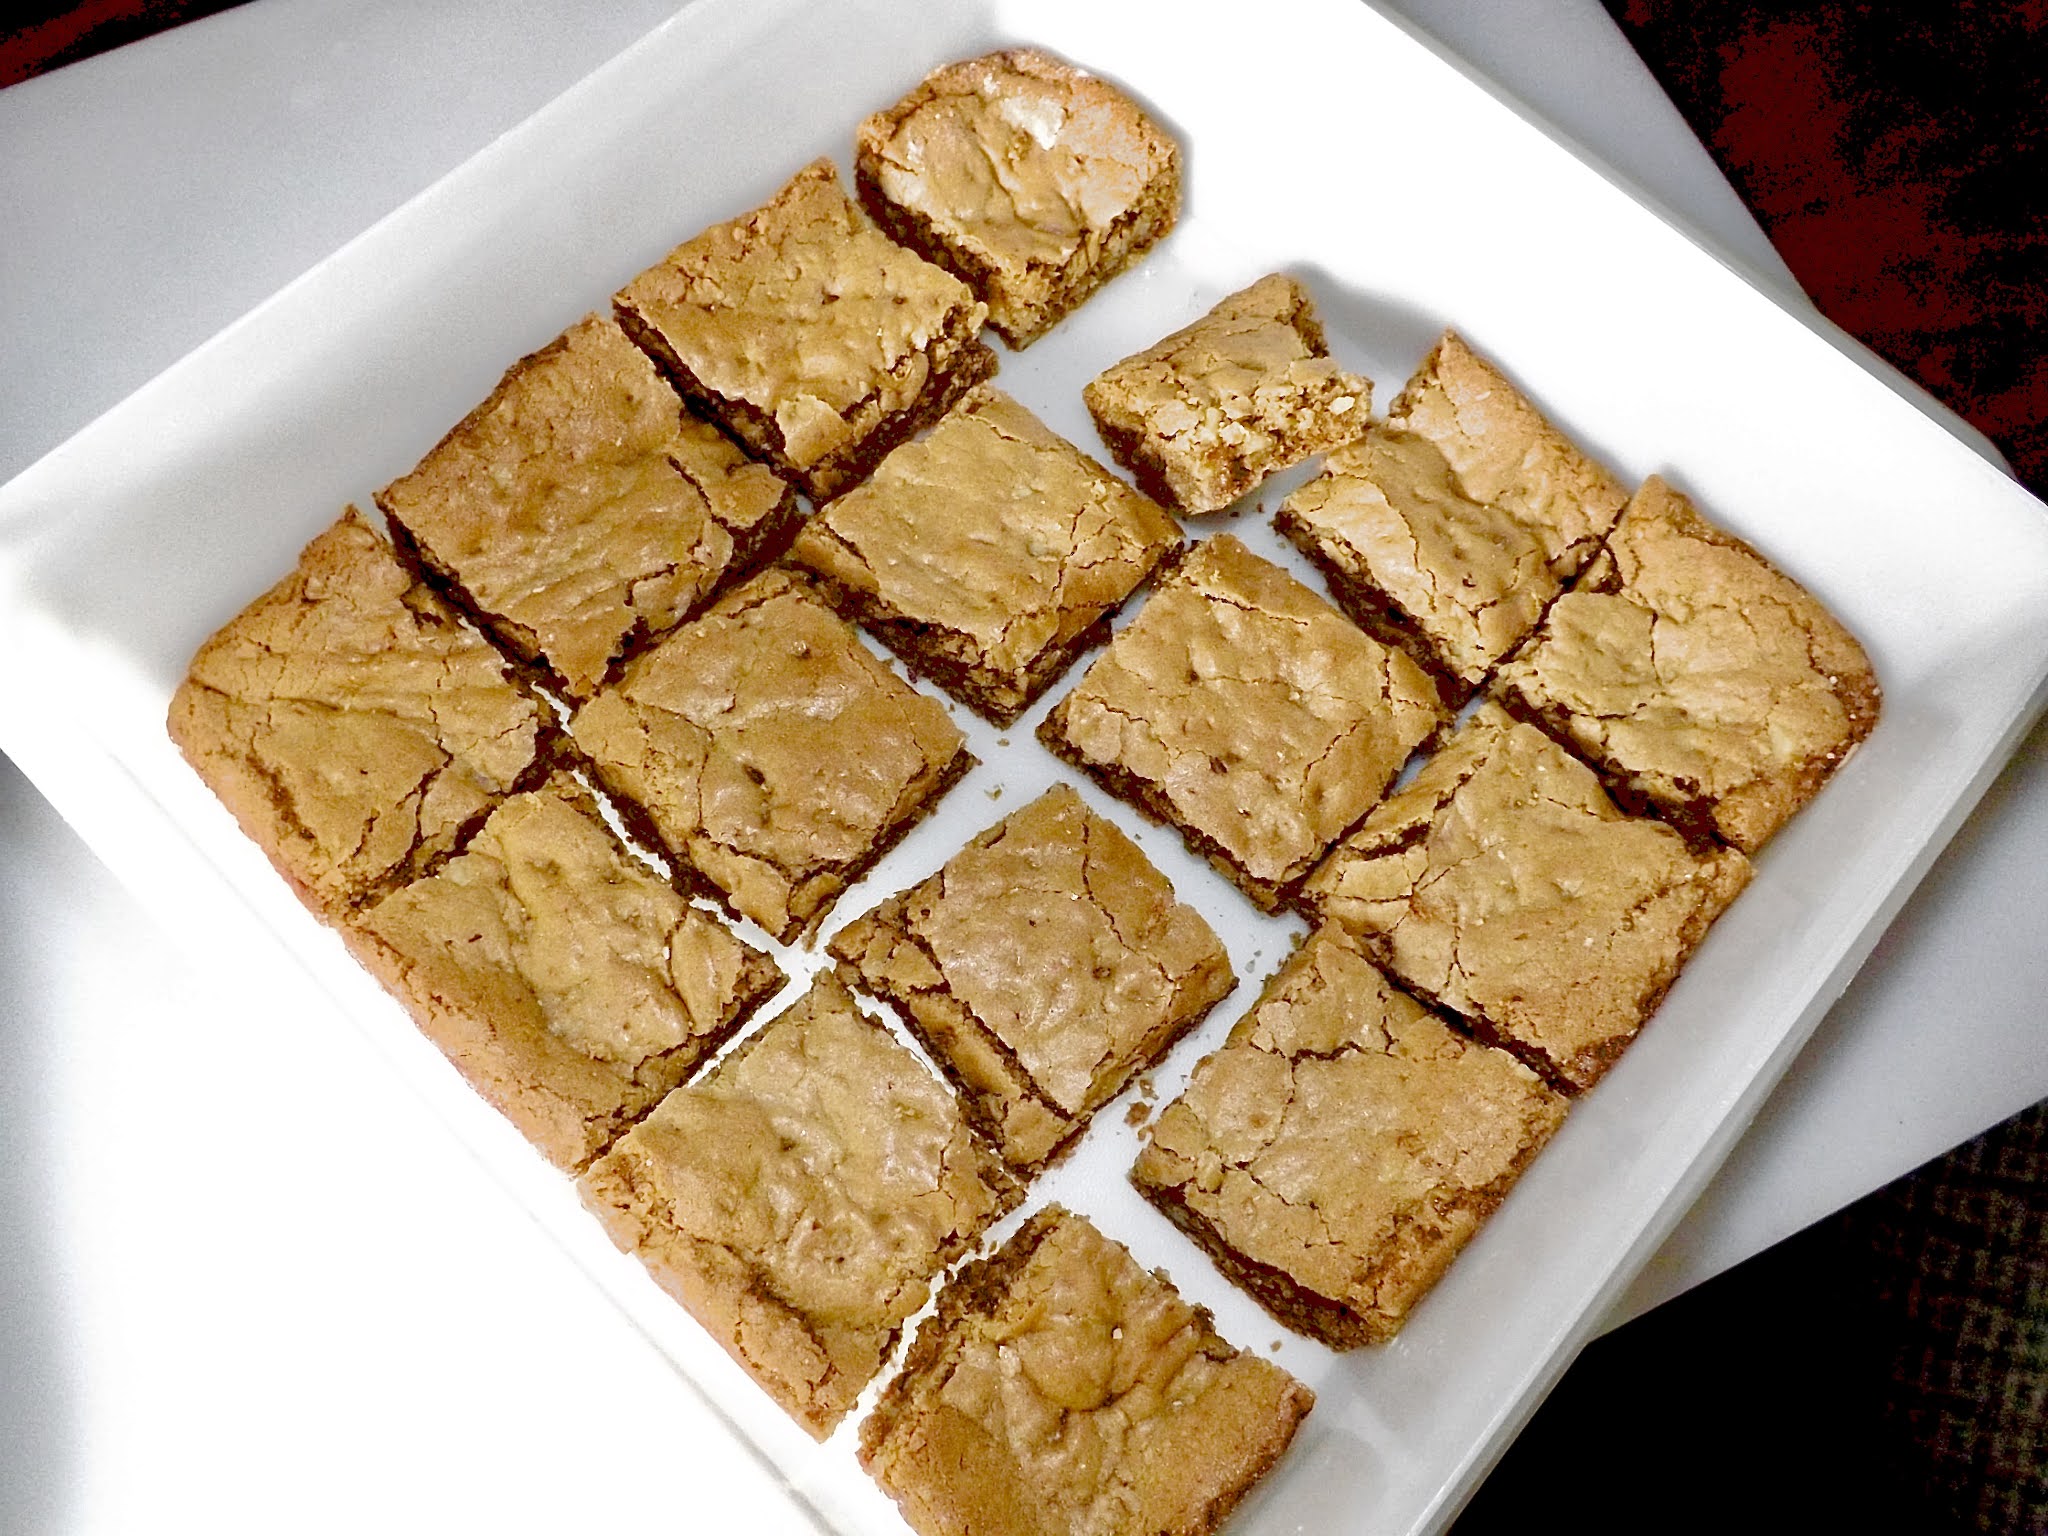
Today I made walnut bars, because I discovered a forgotten small bag of chopped walnuts in the freezer. I have never made them before but felt a bit adventurous regarding the recipe that I found a long time ago and had saved but never made. Result? Darn good, especially since I needed a sugar boost after this baking project, including cleanup. After transferring into a storage container it was hard not to eat two! (pat on back, please)......
please click on image to view larger
..........................................................................
RECIPE

Walnut Bars


Ingredients 

4 tablespoons butter (melted and cooled) 

3/4 cups flour (all-purpose ) 

1/2 teaspoon salt 

3/4 teaspoon baking powder 

1/8 teaspoon baking soda 

1 large egg 

1 cup light brown sugar (firmly packed) 

1 teaspoon pure vanilla extract 

1 cup walnuts (chopped) 


Steps to Make It 

  1. Preheat oven to 350 F. Grease and flour an 8-inch square baking pan. 
  2. In a medium bowl, combine the flour with salt, baking soda, and baking powder. Whisk or stir to blend thoroughly. 
  3. In a mixing bowl with electric mixer, beat the egg for 2 to 3 minutes, or until foamy. 
  4. Add the brown sugar, melted butter, and vanilla; beat well. 
  5. Stir in flour mixture until well blended. 
  6. Fold the walnuts into the batter. 
  7. Spoon the thick batter into the prepared baking pan and spread it evenly with a spatula. 
  8. Bake in the preheated oven for about 20 to 24 minutes, or until browned and the top has formed a crust. 
  9. Cut into 2-inch bars; cool in pan. The recipe makes about 16 walnut bars. 

Tips 

Check them after 20 minutes to avoid over-baking. 


Thursday, January 3, 2019

Trial...

So far not an error! I tried out my new air frier that my granddaughters sent to me as a Christmas gift. The first challenge was to find a place where it could be connected to electricity and be as level as possible. The old sink drainboard that sits under the fluorescent light fixture was the best place suitable. There is a socket on the side of the fixture and I use it often. It only means moving the dish drainer and unplugging the ceramic tree.  Oh! The challenges of using electrical appliances in this cabin!
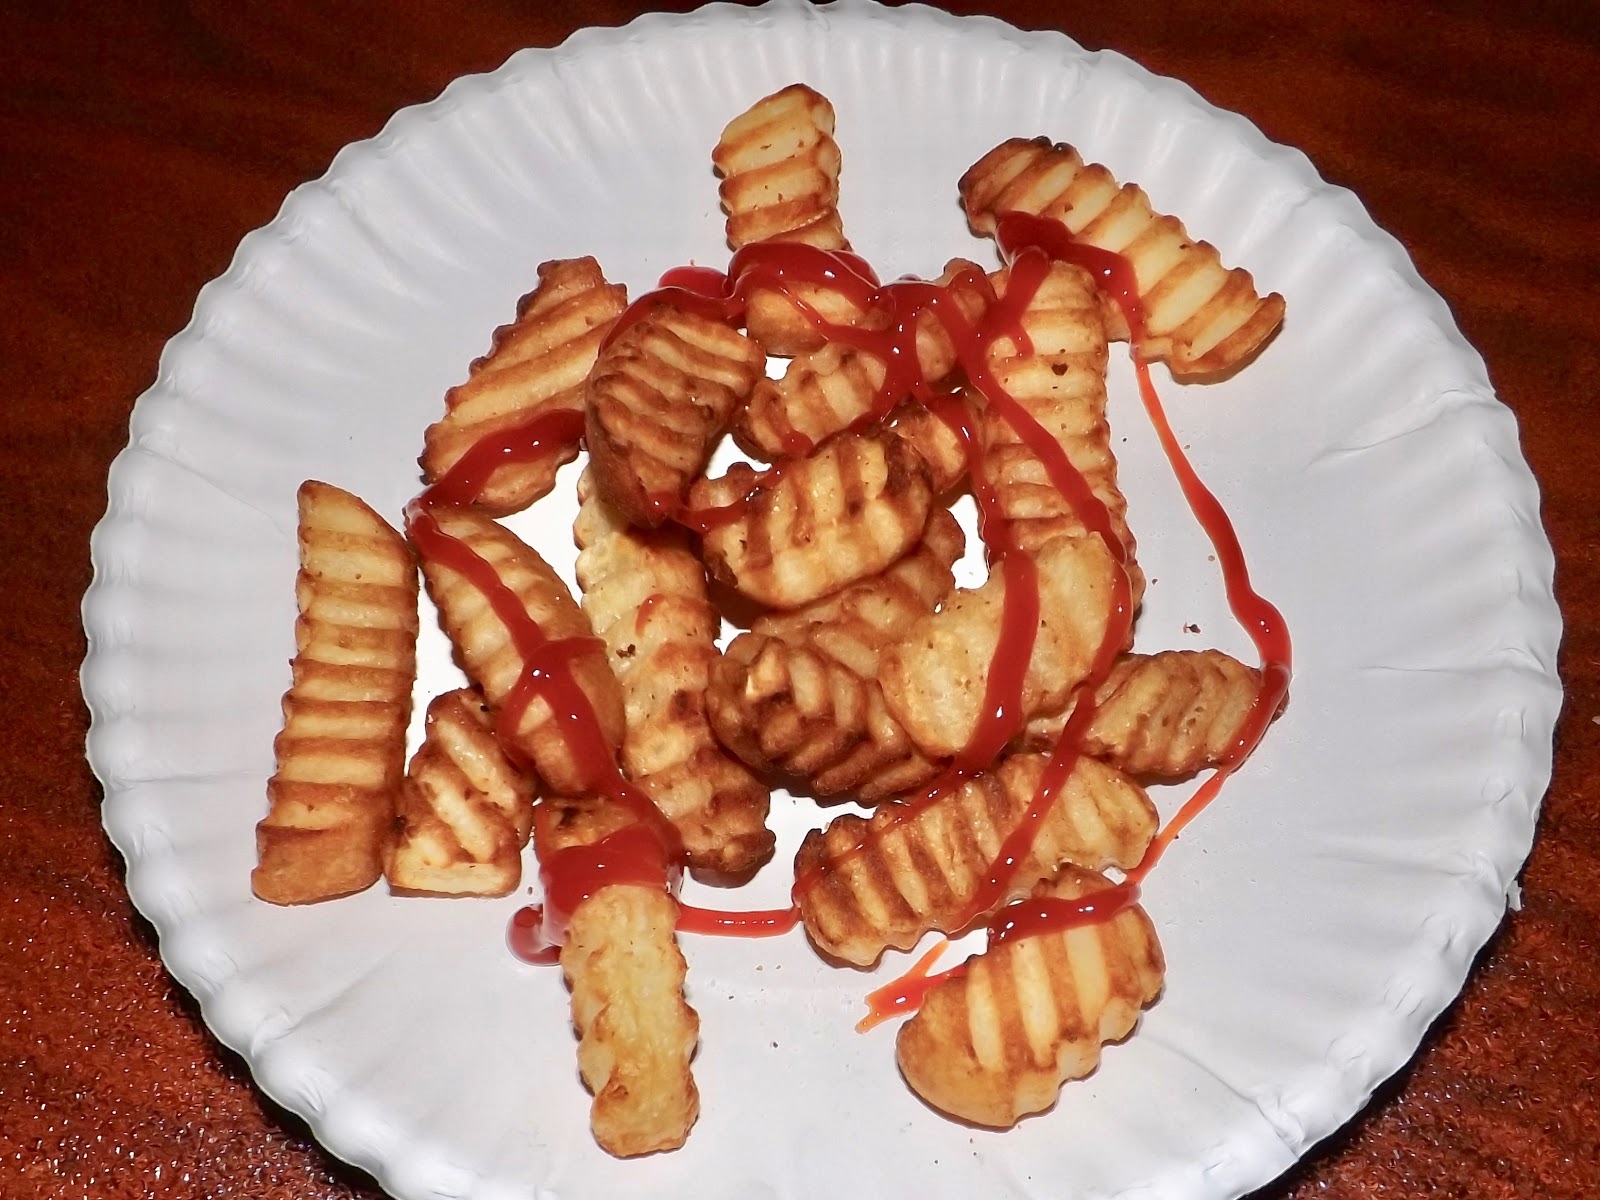
I thought I'd start with something simple, and the fries by Nathan was my choice. I set the timer for 15 minutes and the heat at 400° as the instructions indicated for fries. Maybe next time I'll use the automatic function. I just wanted to learn all of the options.
internet graphic
OK! They were not greasy and were brown and hot. They were good.  Success. Wiped out the basket and the pan with paper towel. Before I had this frier I would put them on a cookie sheet that was covered with Release foil and pop them into the oven for about 25 minutes at 400°. Easy cleanup - throw away the foil!
The next use will be the Perdue chicken breast nuggets. Again, I usually do these in the regular oven on a Release-covered cookie sheet.
internet graphic
I plan to step up very soon with hamburgers. The basket is about 9" in diameter so two should fit nicely. We'll see. When the weather is cold, I like to do these on my George Forman Grill, but it is an older one (1996) where the grids are not removable. I found that by soaking a paper towel in water and inserting it between the grids after cooking and cool down, the residue is easily removed.
internet graphic
When the fellow who does our yard work visited recently, he saw the air frier and said it's just like his and his family of 7 all love the results and the recipes in the accompanying book are good. That is encouraging and I plan to start out simple. My usual method of challenging projects is always trial and error. Newfangled things can be intimidating for old people.
Don't forget to click on images to view larger...

Friday, January 19, 2018

His and Hers

This is Hers...making broth and sauce, chopping onions, sautéing meat, soaking peas and beans, and stirring, stirring, stirring, all      day      long!

Then the taste test - supper. Choices are made.
His...
Hers...
Then the clean up...
SHE stores the surplus in containers...
The final cleanup is HIS!
please click on image to view larger

Thursday, August 21, 2014

Happenings Here

A couple of days ago a driverless steep slope mower traveled down the road right before my eyes. I have a movie to prove it. These pictures are frames I took from my camera movie.

Yesterday I became a great grandmother for the 7th time. A healthy boy, Dominic Ernesto S. was born to our eldest daughter in NJ. 
Last night a neatnik grasshopper came to clean our grill after supper.
Today I made wild plum jam. My brother picked them for me. WOW! Knock your socks off! De-licious!


Wild Plum Jam
3 simple Ingredients:
  • Wild Plums- approximately 3-4 cups
  • Sugar
  • Water
Preparation:
  1. Rinse the plums well. Put them in a saucepan. Add just enough water so they float.
  2. Bring the water to a boil. Boil a few minutes until the plums burst from the skin. Cover and remove from heat.
  3. Cool to room temperature. Do NOT drain or discard the water. (It will be red from the plum skins)
  4. When the plums are cool enough to handle, use your fingertips to slip the skin from each plum and remove the pit. Put the plum meat back into the saucepan with the water. Continue until all of the plums are skinned and pitted.
  5. Put the saucepan with plum meat/water back on the stove and bring it to a boil.
  6. Slowly add 1/2 cup sugar to the boiling plum water. Stir and reduce the heat.
  7. Simmer uncovered, stirring occasionally until the jam water is reduced to a thick syrup consistency.
  8. Check the taste carefully. It will be hot!
  9. Add more sugar and water if needed. Be sure to simmer so the sugar is melted.
  10. When the jam has a thick consistency and you are happy with the sweetness, remove the pan from the heat and cover it.
  11. Let it cool to room temperature.
  12. After cooling, check the taste and texture. If the jam is too thin, put it back on the stove to simmer it longer. If it's too tart, add more sugar. Don't forget to simmer again so the sugar is melted. *When the Wild Plum Jam is just right, spoon it into a pretty glass bowl and serve with hot, buttered homemade biscuits!

Sunday, July 20, 2014

Candied Cereal

Such a day! A little ambition kicked in and I made an old time goodie. Mom always made this for us and I love it still when Mr. Sweet Tooth appears.

Boil together for 5 minutes stirring constantly
1 C granulated sugar
1/2 C water
1 tsp.apple cider vinegar
    Then add:
2 T. molasses
1 T. butter
1/2 tsp. salt
Boil, (stirring constantly) until a few drops in cold water becomes hard & brittle.
Stir in 1/2 box Puffed Rice that has been pre-crisped in oven.
Spread on buttered pan to cool.
click on image to view larger

*Can use Kix or Cheerios-no need to pre-crisp them.
3C Cheerios just the right amount. 
I also added 1/4 C of uncooked oatmeal.
*Can add peanuts if desired.

Wednesday, January 8, 2014

Just Another Day

Comfort Foods!  It's just another day of waiting until Spring is here. What to do when it's cold outside? Eat! Sleep! Read! Write!

There is cold and there is too cold - outside. But it is warm in here so…..

The pea soup will be ready to eat this evening, and so will the corn casserole. The recipe I use for the casserole is very old and common but most of all, easy. In my working-in-the-office days we had a monthly noontime lunch and everyone brought a dish to share. There was an oven in our office and I would bake it there! "An oven and stove in your office!" you might say. If you are aware of your county Cooperative Extension Office you would understand. We were employees of the county, connected to the state program and at the time I was serving as the Extension Youth 4-H Coordinator, there were Family Living, Dairy and Agricultural services available. Times have changed now and some of the services are more intense and new. The link below tells about Pennysylvania's programs.

http://extension.psu.edu/susquehanna

OK, enough! I've wandered off topic again. Here is the recipe for that tasty addition to an evening meal of pea soup and Jello blended with whipped cream. This story is about comfort foods, now I remember!

Corn Casserole

One can whole corn, drained
One can creamed corn
One stick butter
8 ounces sour cream
2 eggs, beaten
1 box Jiffy Corn Mix

Mix all together. (It raises)
Bake at 350º for about 35–55 minutes,

depending on dish used

Tomorrow I'll be making Pickled Eggs - or Red Beet Eggs if you know about them that way.
Recipe to come…

 I'm also thinking about my mother's candied cereal and how good it was.  Comfort foods win.

Saturday, November 30, 2013

How I Made Turkey Soup


After hand picking the bones of all little bits of meat, I broke up the carcass in as many pieces as I could. Of course I have already saved the skin. Yes, this is a greasy project, and I had paper towel ready.  I then put the carcass and skins in a large heavy pot, filled it to the top with water and brought it to a boil. I covered and simmered the pot for about four hours. I added nothing else.

The cooked potful was then dumped into a colander which was placed over a large bowl. I used a plastic bowl because it isn't as heavy as my glass or pottery bowls. When the pot was empty, then I brought the colander, filled with the cooked stuff, back over the pot and drained it well.


(I threw the colander contents away in the trash because poultry bones choke dogs, we don't have a compost pile, and no burning today - it's too windy.)

The potful of plain and concentrated broth was placed outdoors to chill and even freeze. I Did NOT add water! Yes, I did cover the pot.

I went back indoors and washed those dishes. I do wonder how people can cook without a very large kitchen sink like mine. 

Then the fat was easily picked off of the top of the jellied broth!


I washed and cut up several stalks of celery and the tips of about a dozen carrots. The celery tops, leaves and all were chopped. A couple of onions were diced and added.

The only other ingredients used at this point were pinches of black pepper, parsley, and basil. The broth was then brought to a boil and tempered down to a simmer and cooked for about 2 hours. (You don't see much of the carrots here because they sunk to the bottom.)

A cup of brown rice and small turkey pieces were then combined and cooked until the rice was tender. It all was ladled into storage containers to freeze. I used to can but now prefer freezing soups. 

This is my routine and I'm sure you have yours. Whatever works is the rule, just as long as it turns out to be nourishing and delicious!


I already have another project in mind to use the extra carrots! Stay tuned.

Saturday, November 16, 2013

Baking Has Begun


I've been baking. Wish I could share! Peanut butter cookies from scratch using my Grandma's recipe. Made 76! They are ALWAYS delicious!

We made apple sauce last week and I have another batch do do tomorrow. If we had a freezer, I would make more! This year was an excellent year for apples here. They are outstanding. I've also make 3 apple cakes - we ate one! Oatmeal-raisin cookies, ginger snaps, lemon sugar cookies and fruitcake baking are all still on my agenda. I also have a large pot roast to bake (in my OLD cast iron covered kettle) and a pork tenderlion to roast. I haven't yet bought our turkey breast for Thanksgiving, but will. 'Tis the time of the season to be in the kitchen! The oven running helps keep the cabin warm and the aromas of good food are pleasant!


Friday, April 19, 2013

Ham and Eggs


Pea Soup Project

Yesterday my daughter visited and brought with her a ten pound ham shank because it was taking up too much room in her small freezer. OK. She asked me if I would make my "famous" pea soup with the bone. OK. Then she asked me if I would save some of the meat for making ham salad sandwiches. OK. She told me I might be able to cut off a couple of slabs for her as dinner entrees and to keep a couple for myself. OK.  At about 3pm I put the ham in a roasting pan, after digging that pan out of the deepest under-counter cupboard there is in this old cabin. (I thought I wouldn't need it until next Thanksgiving.) I used a turkey oven bag and it was ready to carve around 7pm. It came out beautiful! I'm very sorry that I was so involved that I didn't take a picture of it on the platter before carving. * I set aside two pieces for our dinner - which I had not yet even begun. Then we ate dinner. I finished cutting it up, packaged the edible slabs and chunks, and proceeded to strain the bones and remnants in my old colander over a large old bowl. The broth was then poured back into an old 6 quart pot, I added water to the top, added the bone and set it to simmer ALL NIGHT LONG. 


This is not my photo but it looks exactly as mine did after it was baked.

This morning, the total brew was poured again into the colander, straining down into the large bowl. I had to have help. While I held the colander over the bowl, (in the sink, of course) my husband poured in the contents. Those bones now were bare as bones can be! The bowlful of rich brownish broth was then poured back into the pot and the potful was put in the refrigerator. After about 2 hours, I removed the pot, took a slotted spoon and skimmed off all of the white fat layer that had floated to the top. There was a lot and it was removed totally and easily.  

After rinsing the package of split peas, and chopping up two onions, the soup has been started. It will simmer all day long. There will be no need for further straining as it will become a smooth, kind of thickish gruel. No lumps or bumps. I'll then add pepper and leave it to others to the salting.  I will freeze portions and keep a few for myself. 

While the soup was simmering, we - get that - we dug out the old grinder and all of the chunks were processed. I fed the beast, he turned the handle. The result was three fairly large containers of ham - ready to be made into ham salad, or used for hash, or added to casseroles. Wish I could share a bit with you as well. There is enough. I packaged the remaining dinner entree slabs and that is that!  Soup simmering. Ham and soup project complete.


Did I tell you that she also brought over another dozen of those wonderful home-grown eggs? Well, I already had one partial and one full box so what do you do when you have extra eggs? You boil the oldest bunch and make egg salad for sandwiches. Oh, and egg-potato salad with three potatoes that were already cooked and just waiting to be used in some way. We had eggy potato salad for lunch. YUM! I'm tired now. I too am old.

The cleanup is extensive, but who cares? It will be worth it. Come for a visit. It sure smells good in here!


P.S. = PEA SOUP at 6pm with homemade sourdough bread.


The entire batch yield was 4 quarts.