Followers

Showing posts with label photomanipulatiom. Show all posts

Tuesday, June 28, 2022

Visitors and Manips

I had a friend and his lady stop by and we had a great visit. They rode in on his 1983 Beemer and we had a wonderful time getting to know each other a bit. She is a real sweetheart. He has been here before and he wanted to show her the cabin and the area as she is from Canada.

I have been working on a log photo that a friend from NY sent me and my visitor had just what I was looking for -  a dancer graphic for the log's interior. 

I created a picture of her and then the log creation. Really I should have started this earlier in life. It is fun to do!

Well the cut-down tree left a nice start for my imagintion!

please tap to view larger
What do you think? Do I need to be sent to LaLa Land?

Tuesday, October 31, 2017

BOO!

My granddaughter makes a great subject to spook you with her unusual eyes.


Saturday, September 10, 2016

Pretty Nana

Nana is my friend's former mother-in-law and is age 87. They are very close. When she sent me her image, I just had to manipulate it so the true background would disappear and the picture would do her justice. I think I succeeded. At least in my own opinion I did. It was difficult because of the wisps of hair and I don't have any program such as photoshop. iPhoto and Preview are my built in applications. They work well for me. 

Let me introduce you to "Nana looking pretty." The photos start with the original and then the stages to b/w.
MY PERSONAL FAVORITE

click on pretty lady to view larger

Monday, August 10, 2015

Baby Dominic

He'll be one year old in a week. Time flies. HE IS BEAUTIFUL. This is where the photo manipulation of a picture can make it quite nice. Our daughter loved it. 

Friday, October 10, 2014

Halloween is Coming..

This is a start of a spooky creations series I'm making. There will be more!
 The She Tree

Her Daughter, The Woods' Witch
Click on picture above to view larger

Wednesday, March 5, 2014

Note Cards Continuation Part 2

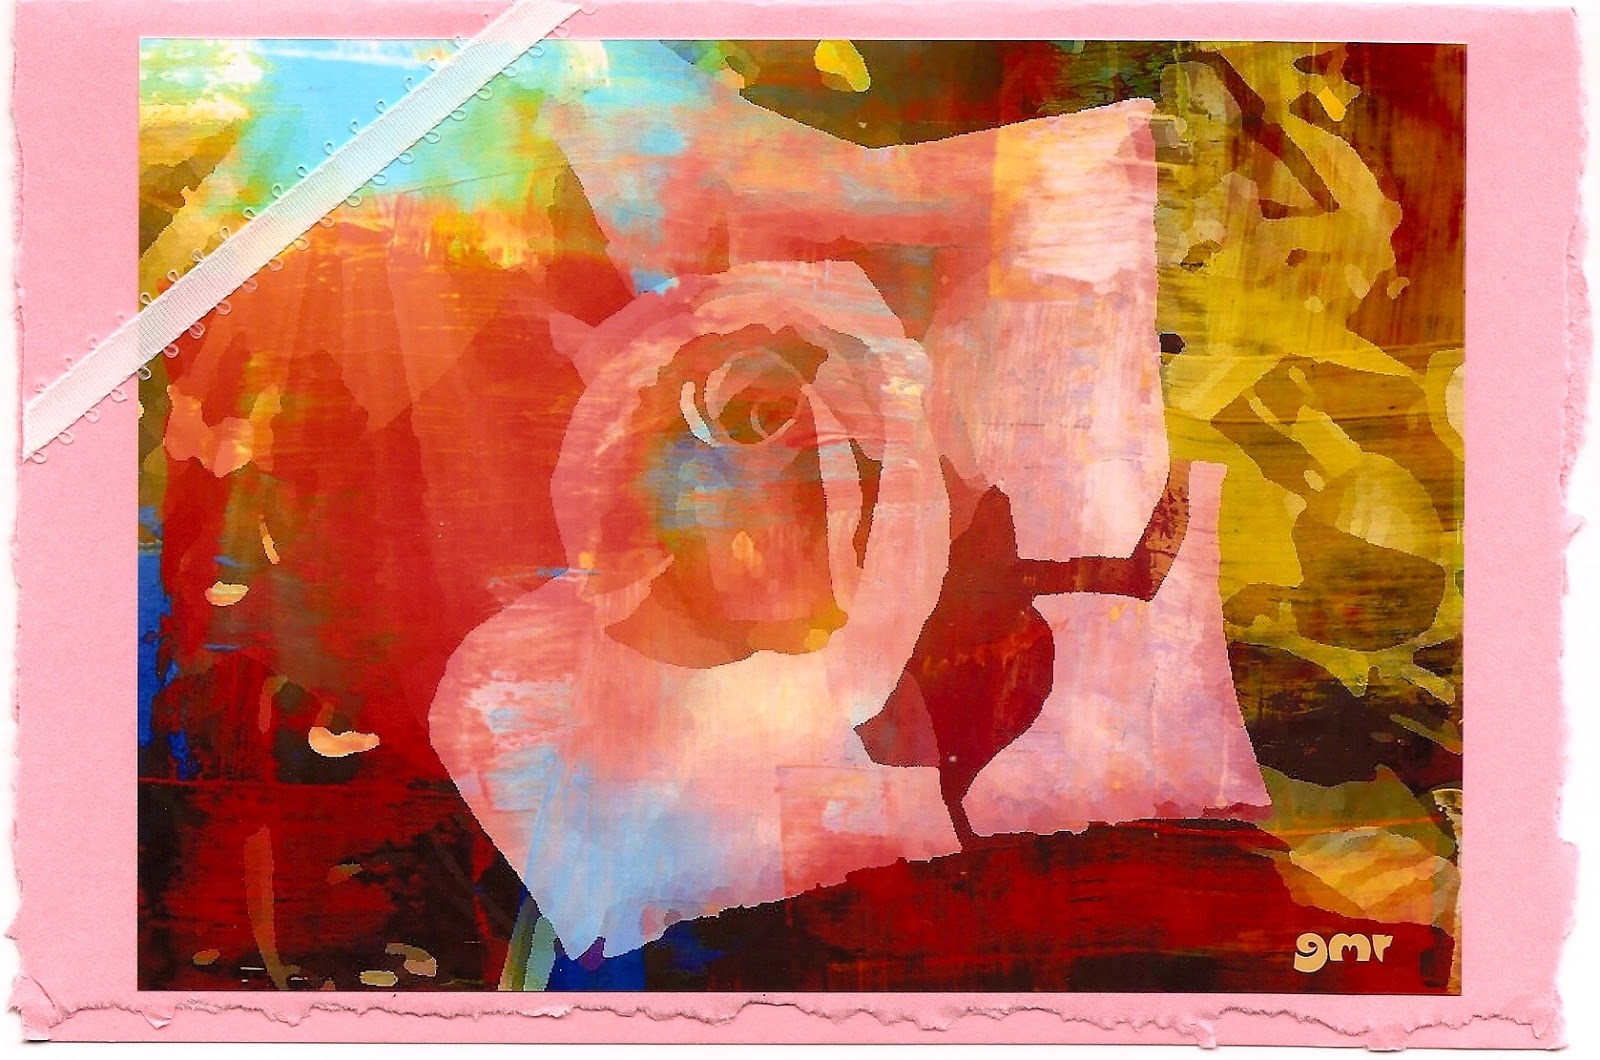
This is an easy way to upload to Picasa along with this blog. I know, I know, it isn't really a blog - so what! I'm still working on my cards until supplies run out. Six more today. Not much else to do when it is so nasty out and I don't feel like putting on shoes or dress to go anywhere anyway. Just bear with me - I'll write words of wisdom soon. Maybe.

The "Painted Dahlia" series is finished.

Please click on image to view larger.


Monday, October 28, 2013

BOO!

Well, just so you know, the videos I post are all of my own photos made into slide shows with music. (I usually upload them on YouTube.) There was one exception and that was a special one for a friend's anniversary using their pictures. Many will agree with my choice of music and some will not like it at all. Well - they are my videos and I put music I like with them!  Because I have just learned how to make these there will sometimes be mistakes in the slideshow, but I try to improve with each one. I have learned that using photos that are in a portrait format don't show up as well as those in landscape format. I don't like to use them but I didn't know how to make slide shows when I was leaning how to take pictures. Now I do. Sometimes I have used movies that I make with the digital camera. I haven't yet figured how to shut off the sound and do not like to have the wind noises or background noises on those. I can make them on iMovie application and kill the camera sounds and add my own. The still slide shows are created mostly on iPhoto application. 

I would now like to share yesterday and today's "creations" because it is the time to do so.

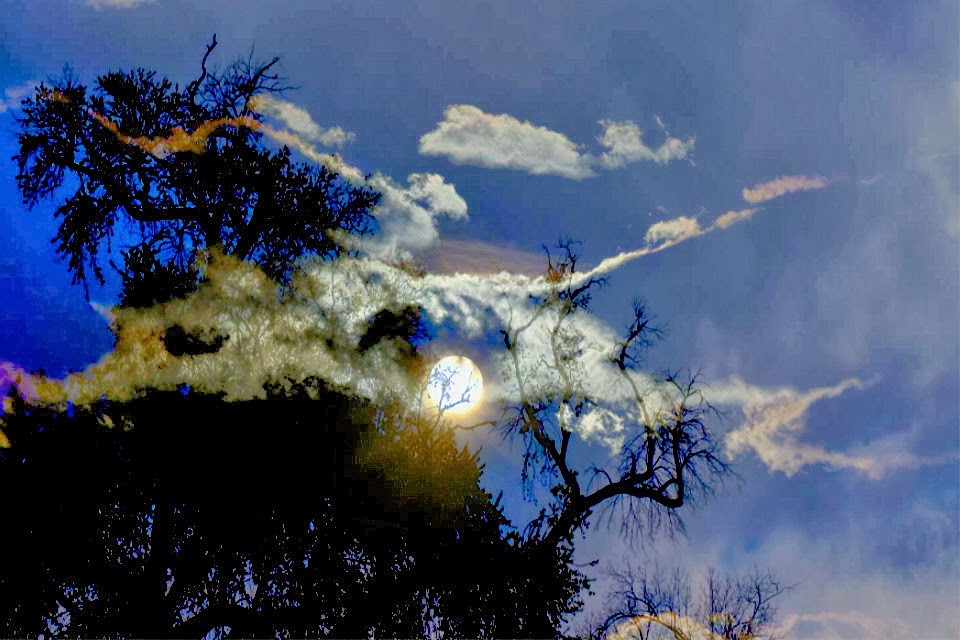
I used 2 photos from a friend - one if a moon behind clouds and the other of flying birds in front of clouds and merged them with one of my tree shots. The ugly eye overlooking my tree photo that was used in a previous post was enlarged from an old graphic I had saved a few years ago. I have a grand time making these "creations" and sharing the results. It's an enjoyable creative outlet for me.


BOO!


from me to you...SheTree!

Tuesday, August 20, 2013

Photomanips

First of all I will tell you that I don't have any computer programs such as Photoshop. I use what I can find for FREE on the internet and don't ever pay for more options or upgrades from those sites. I have an iMac computer and the application that came with it already installed was Preview version 4.2. This does many adjustments for me. I have been experimenting with my photos over the last few years and derive a good bit of enjoyment making, what I call, "Creations."

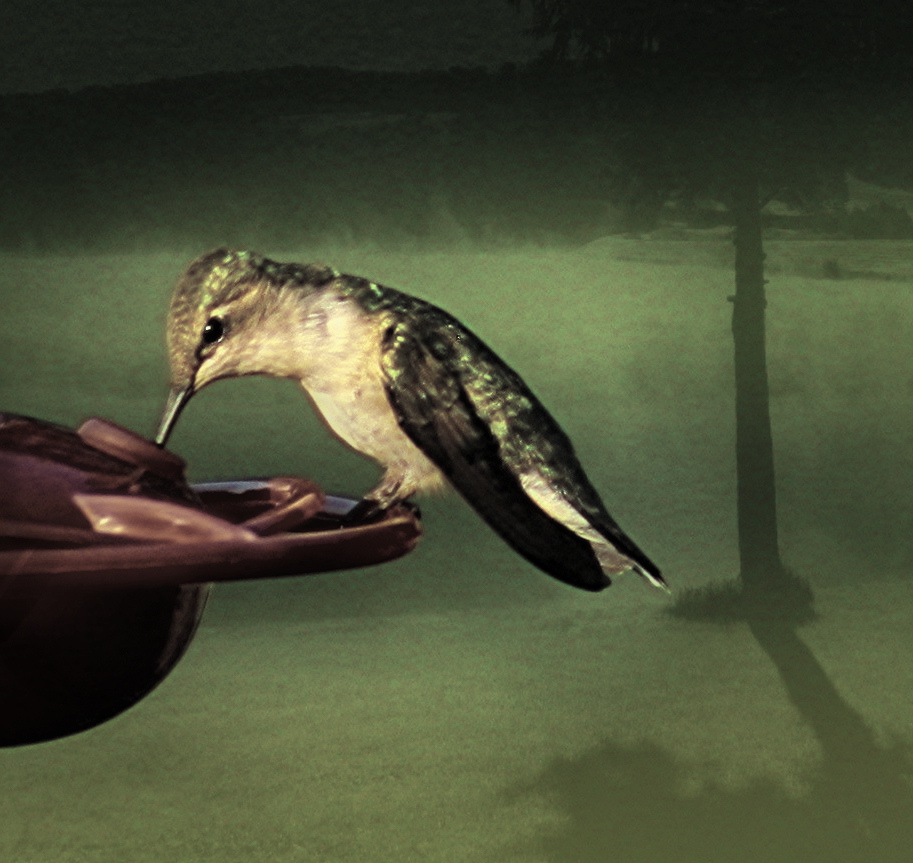
Today I took three shots at 7:30 am when the foggy mist was still over the lake. A single hummingbird was feeding and it looked tempting to try to capture it at this with the foggy background.  Well, with every picture I took I was sure I had a nice one. After uploading to the computer, imagine my dismay when not even one contained that tricky evasive little creature. Zip! It was here and zip! gone... every time.


Later, I was going through some photos that my Photography Whiz Friend who lives in NJ had recently taken and there was my little bird. It flew to her!

I just had to do something about my empty feeder so............


One more...

Well...that's her bird on her feeder but it's is on MY background and in MY view.


And then it faded away and flew away again! ZIP!


Friday, August 9, 2013

Project COMPLETE!

• First, I take the pictures.
• Then I play with the pictures, manipulating them to my liking.
• Next I have prints made in 5" x 7" size with matte finish.
• Then I get out my white, pink, green, lavender and blue card stock and a ruler.
• I use double sided sticky tape to apply the photograph and/or pieces where I want.
• Sometimes I cut the edges of the card stock with fancy scissors.
• Sometimes I just tear the card stock edges.
• Sometimes I cut the edges of the photographs with plain or fancy scissors.
• Sometimes I use a little bit of ribbon.
• Sometimes I use left over cuttings with stick glue.
• Sometimes I mount them crooked and have to throw the whole works away.
• Sometimes I mount them asymmetrically.
• If I have two of the same print I might cut one and put a piece on top of the main with a bit of 1/8" sticky foam so the top piece is raised. (The raised layer doesn't show when scanned.)
• Most of the time I have now idea where I'm going.

• I know when enough is enough - for me at least. When it isn't fun anymore I quit!


These cards (with envelopes) all measure 5 1/2" x 8 1/2" and one postage stamp will get a card to where it is sent! They all open to a very large blank writing space. Time to move on to another project! 


Sigh.......Project complete.
Click on photo to view larger.